
Set Up Embeddable Components for Self-Service Subscription Management
Applies to: Advanced Billing
Last updated on Sep 19, 2026
Embeddable Components, also known as Reusable Components, are self-service, headless components developers use to build and customize a subscription journey inside their own application. Maxio delivers them as a TypeScript SDK, aimed at improving both the developer experience and the subscriber experience.
Why use Embeddable Components
Embeddable Components let you build a subscriber experience that fits your product, which suits self-service Subscriptions in a product-led strategy. You configure them in your billing portal settings, enable or disable functionality either through Advanced Billing or in code, and style them with dynamic or static code to match your brand.
They fall into three functions:
- Billing History - Viewing, sorting, and filtering Customer Invoices.
- Subscription Manager - Self-serve Subscription management, including Subscription details, Payment Profiles, product migrations, and coupon application.
- Customer Details - Viewing and editing Customer contact details, address, and custom fields.
For help at any point, contact support@maxio.com.
Step 1 - Enable Embeddable Components in Advanced Billing
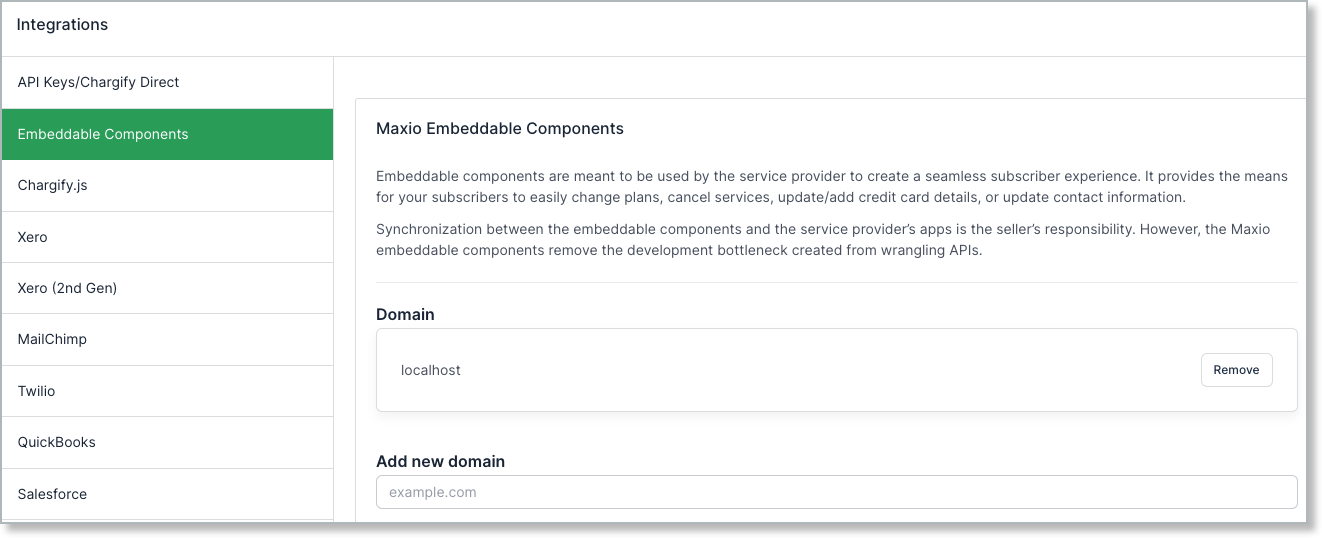
Identify the domain that hosts your site, then generate a sign-in key so your host server can authenticate. Add localhost as a domain while you develop locally, and remove it once development finishes.
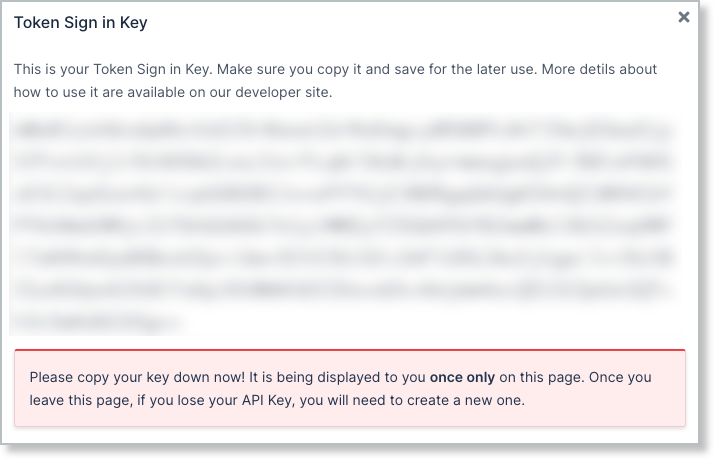
Important: Maxio displays the sign-in key once and never again. Copy it before you leave the page. An account holds a maximum of two sign-in keys at a time.
To enable Embeddable Components
-
From Advanced Billing, go to Config > Integrations > Embeddable Components.
-
Enter a Domain, then select Enable Maxio Components. Maxio generates a Base64-encoded Token Sign in Key.
-
Copy the token and store it somewhere safe.
-
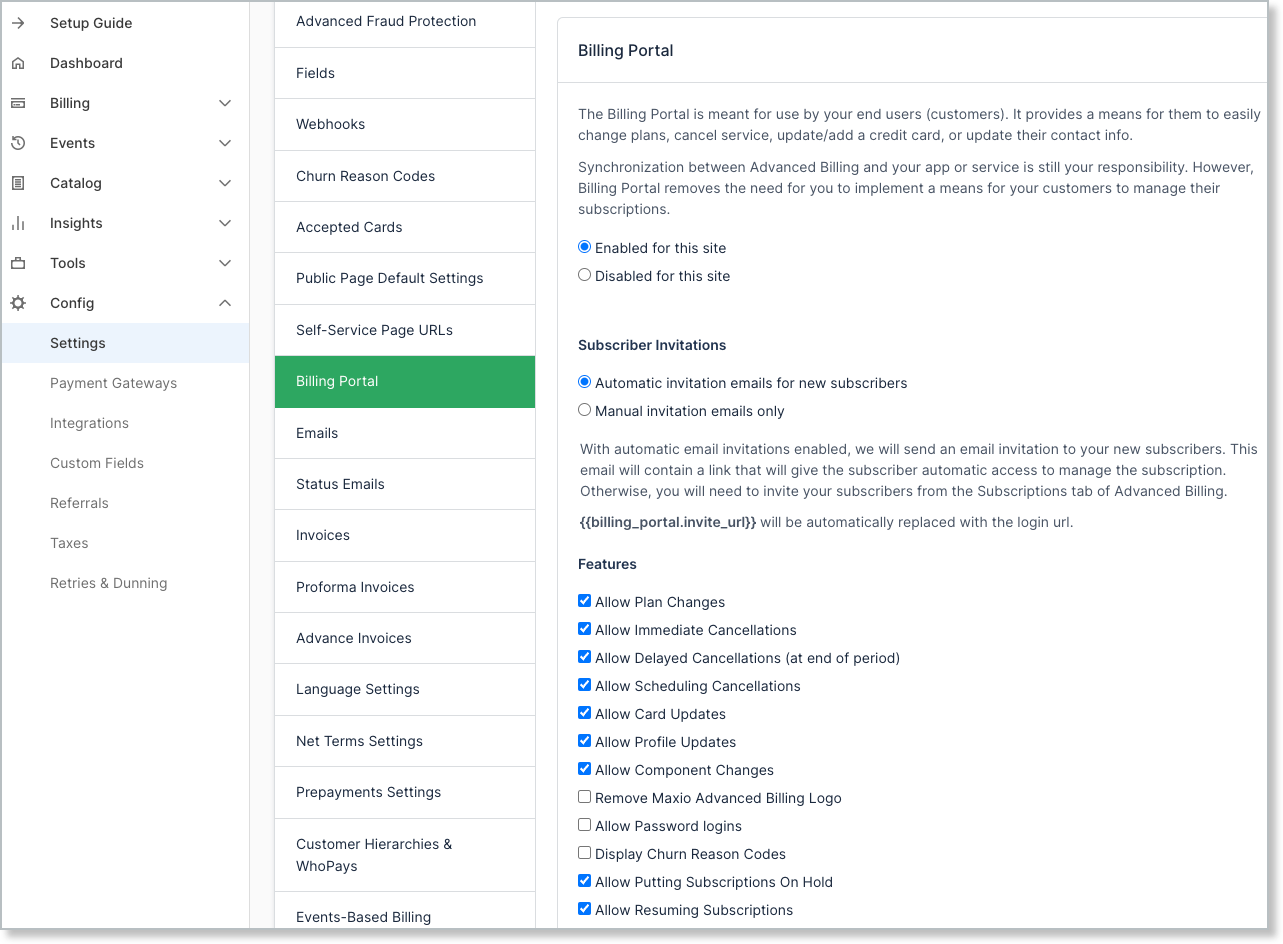
Go to Config > Settings > Billing Portal and select Enabled for this site.
-
Select the Features available to your Customers.
-
Select Save.
Not every Billing Portal feature affects a self-hosted application. Remove Maxio Advanced Billing Logo has no effect on your own application, for example, while Allow Plan Changes does. Enable the features your application actually depends on.
Manage domains and keys afterwards
The settings page changes once the integration is enabled, and this is where you do the follow-up work the steps above set you up for:
- Add new domain adds another allowed domain, and Remove deletes one. Use Remove to drop
localhostwhen you finish developing. - Generate Another Sign in Key issues a second key, up to the limit of two.
- Disable Maxio Components Integration turns the integration off. Maxio asks you to confirm, because the integration stops working immediately.
Step 2 - Install the SDK from npm
npm is the main package manager for node.js, the JavaScript runtime. Installing node.js also installs npm, and you need node.js to run the Vue or React examples in Step 3.
To install the SDK
-
Go to the @maxio-com/self-service package on npmjs.com. The package page, "Headless Billing Portal", covers installation, links to the Vue and React examples, and walks through repository setup.
-
Create a project directory on your machine.
-
Open a terminal and navigate to that directory.
-
Install the package:
bashnpm install @maxio-com/self-service
A successful install creates a node_modules directory containing @maxio-com/self-service.
Step 3 - Run an example application
Maxio provides Vue and React examples you can run as-is. The steps below use the Vue example on localhost.
To run the Vue example
-
From the package page, under Installation and usage, open Examples and select vue-self-service-example. This opens the Maxio Vue example repository.
-
Clone the repository:
bashgit clone https://github.com/maxio-com/vue-self-service-example -
Open the cloned repository and install its dependencies:
bashpnpm installOr, if you use npm:
bashnpm install -
Run the development server:
bashpnpm run devOr:
bashnpm run dev -
Open
http://localhost:3000/to view the running components.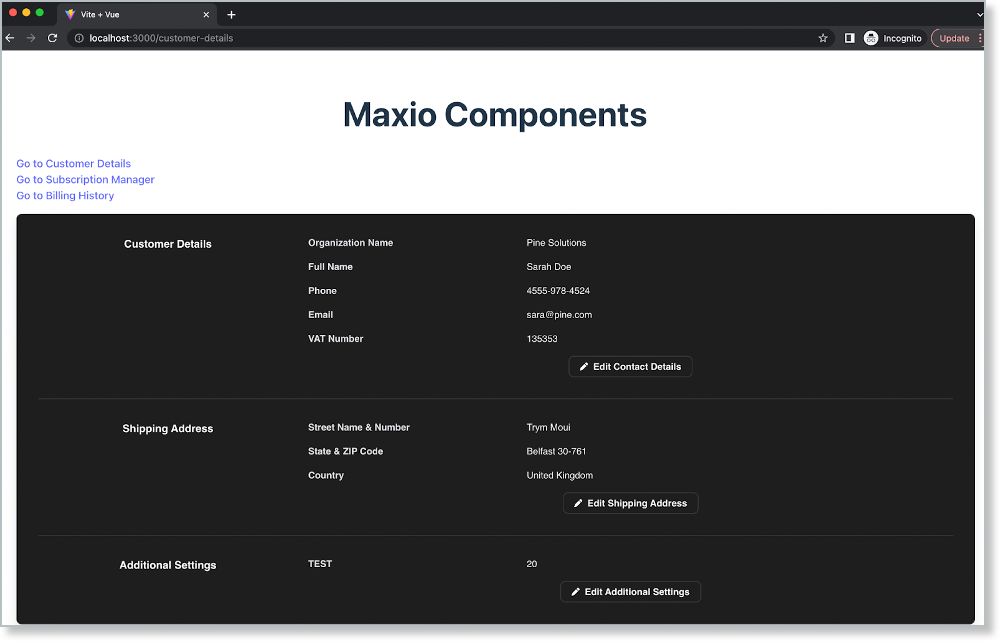
Configure the example components
Each component takes its own options. Edit the files under src > components, then reload the example in your browser to see the change.
Billing History options, in BillingHistory.vue
| Option | Description | Example |
|---|---|---|
itemsPerPage | Number of items to list per page. | itemsPerPage: 10, |
paginationVariant | Pagination type.
| paginationVariant: 'simple', |
enableFiltering | Whether billing history filtering is available. | enableFiltering: true, |
visibleColumns | Array of billing history fields to show as table columns. | visibleColumns: ["invoice_number", "issue_date", "due_date", "total_amount", "amount_due", "status"] |
Customer Details options, in CustomerDetails.vue
| Option | Description | Example |
|---|---|---|
customerDataVisibleFields | Array of Customer data fields visible to the user. | customerDataVisibleFields: ["address", "address2", "city", "state", "zip", "firstName", "lastName", "email", "ccEmails", "organization", "vatNumber", "phoneNumber", "country"] |
Subscription Manager options, in SubscriptionManager.vue
| Option | Description | Example |
|---|---|---|
allocationFlow | How the allocation flow is presented.
| - |
subscription | Subscription settings object, including details, which sets how Subscription details are presented. | - |
paymentProfileEditFlow | How the Payment Profile edit form is presented.
| - |
paymentProfileRequiredFields | Array of Payment Profile address fields that are required. | - |
addressFields | Array of Payment Profile address fields visible to the user. | addressFields: ["address", "address2", "city", "state", "zip", "country"] |
Step 4 - Optional configurations
The steps above give you a working integration. The configurations below are optional, and each one covers a different way of loading or shaping the components.
Use as a standalone library from a CDN
To use Embeddable Components as a standalone library from a content delivery network:
-
Add the library script to your page:
html<script src="https://cdn.jsdelivr.net/npm/@maxio-com/self-service@1.9.0/dist/maxio-components.umd.min.js"></script> -
Initialize the components:
javascriptconst factory = new window.Maxio.Components(options); // Render Billing History to the document.body element let element = factory.create('billing-history'); element.render(document.body); -
Make sure your local environment matches a domain you configured. Add
localhostif you want to run it locally.
A complete page
<html>
  <head>
    <meta charset="utf-8">
    <script src="https://cdn.jsdelivr.net/npm/@maxio-com/self-service@1.9.0/dist/maxio-components.umd.min.js"></script>
  </head>
  <body>
    <script>
      const factory = new window.Maxio.Components({
        i18nSettings: {
          loadPath: '<path to localization file>',
          language: 'en',
        },
        accessTokenUrl: '<path to authorization service>'
      });

      let element = factory.create('billing-history');

      element.render(document.body);
    </script>
  </body>
</html>
Control custom field visibility
You set how far each custom field, or metafield, is exposed to customers in Embeddable Components. The scopes apply to both Subscription-level and Customer-level custom fields:
public_showset to1makes the custom field visible in the application.public_editset to1makes it editable.
These metafield settings are available through the API only.
Allow customer updates for one component
Alongside the global components update setting, each component carries its own property controlling whether a billing portal can update it. Embeddable Components respects that property too.
To allow customer updates for a component
-
From Advanced Billing, go to Catalog > Products.
-
Select the Products family the component belongs to.
-
Select the Components tab.
-
Choose a component.
-
At the bottom of the component page, next to Advanced Options, select Edit.
-
Enable Allow customer updates in Billing Portal.
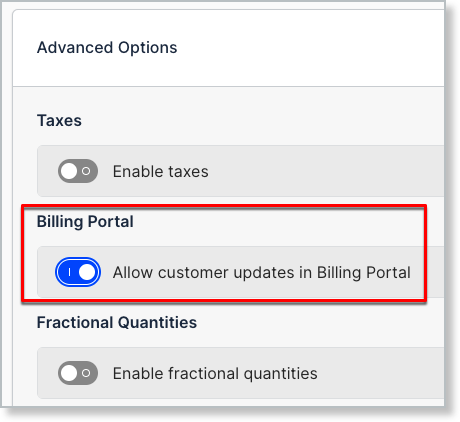
This toggle isn't available for Metered, Prepaid Usage, or Event-Based components.
Related information
For how the components authenticate against the API, see the Understand Embeddable Components Authentication help article.
For authentication endpoint examples and other code, see the Review Embeddable Components Code Samples help article.
Still need help?
Reach out and our support team will take it from here.