
Install an Email Template
Applies to: Advanced Billing
Last updated on Sep 19, 2026
A layout is the reusable HTML shell your automated emails render inside, so installing one gives every email the same branding without restyling them one at a time. Use this guide to create a layout from a prebuilt template, customize it to match your brand, and add a call-to-action button.
At a glance
- Feature
- Configure Email Settings
- You Need
- An email theme or template
- Code
- HTML if customizing layouts
- Difficulty
- ◉◉◎◎◎
1. Create a layout
Layouts are created from inside any email template, not from a separate settings page, so start from whichever email is most convenient.
-
In Advanced Billing, go to Config > Settings > Emails.
-
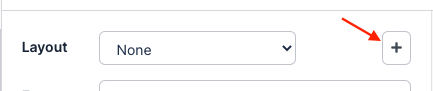
On any email, click Edit Template, then click the + icon.
-
Copy in the prebuilt template, name it, and click Save.
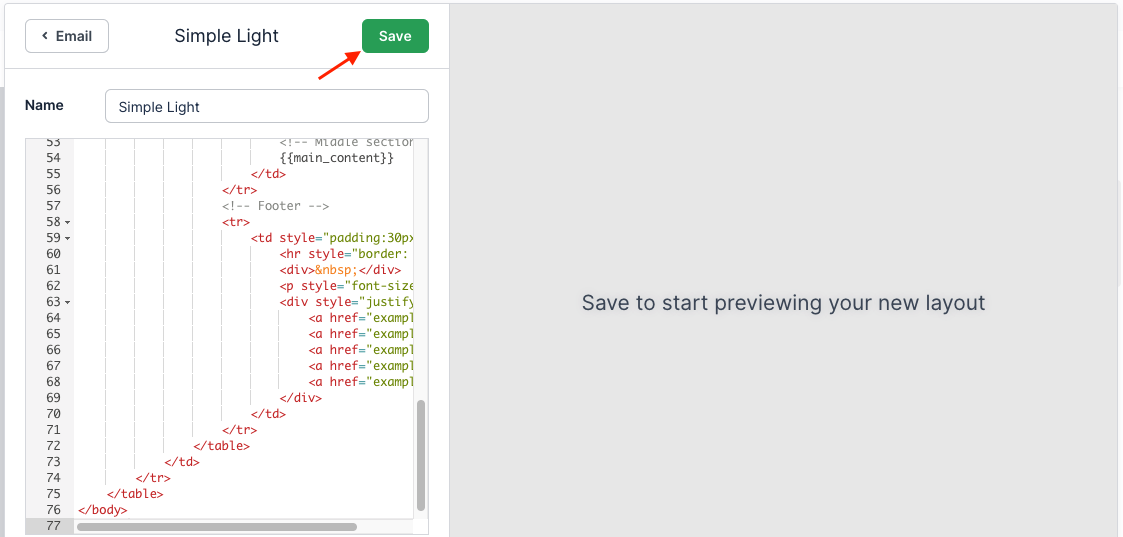
To browse the prebuilt themes full screen before you choose one, see the Advanced Billing email theme samples. For more complex, real-world layouts beyond the prebuilt themes, see the full email template examples in the Quick Start Guide Examples repository.
2. Customize the layout
Edit the links, add your logo, and adjust the styling to match your brand. Because every email using this layout inherits these changes, a single edit here rebrands all of them at once.
3. Add a button
A call-to-action button gives customers somewhere obvious to go, such as their Billing Portal. Add one with the following snippet, editing the link, background color, size, and anything else you need.
<div style="justify-content: center;display: flex;margin:40px 0px;">
  <a href="https://example.com" style="color:#ffffff;background-color:#006fbe;text-decoration:none;text-align:center;border-radius:5px;padding:20px;font-weight:600;">Click here to learn more</a>
</div>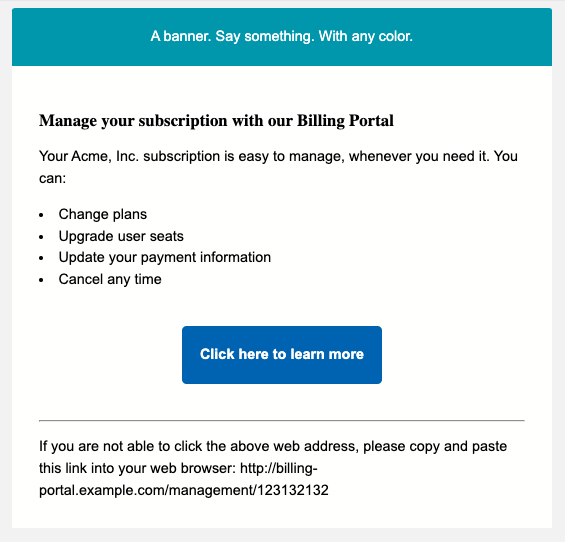
Related information
To choose which automated emails to send and write their content, see the Configure Emails help article.
For the full reference on every field an email template exposes, see the Customize Email Templates help article.
Still need help?
Reach out and our support team will take it from here.