
Loading article…
Loading article…
Last updated on Aug 26, 2026
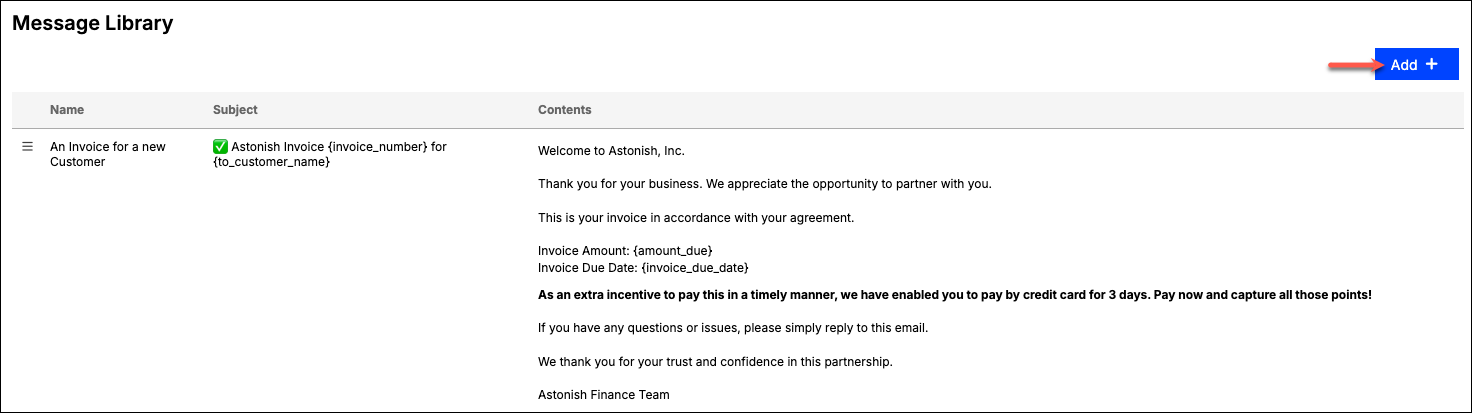
The Message Library in Maxio allows you to create and manage custom email messages that accompany invoices. You can create reusable message templates tailored to specific scenarios, such as past-due invoices, renewals, failed payments, bounced emails, or usage-based billing. These prebuilt messages can be selected from the Message list in the Send Invoice pop-up window to populate the Extra Intro Text field.
These messages apply to Maxio's e-Bill functionality.
Click the Email Message Library option on the Admin screen.
Click Add in the top-right corner.
Configure the following fields:
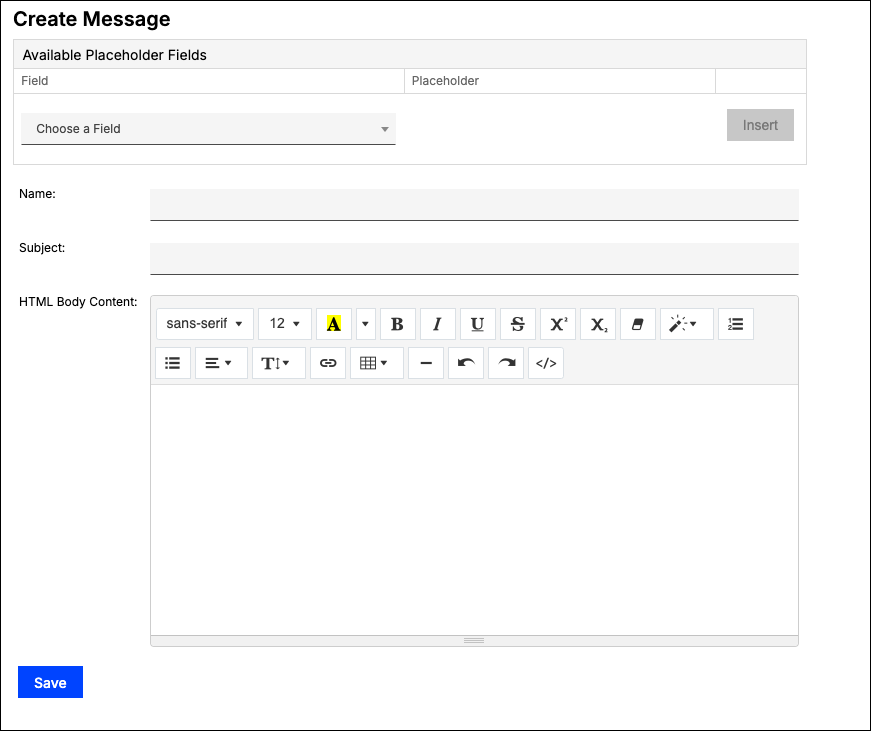
Click Save.
Maxio sanitizes the HTML you enter when the message is saved, so some markup may be removed.
You can insert dynamic placeholder fields to personalize each message based on customer, contact, or invoice data. For example, using {to_customer_name} automatically replaces the placeholder with the customer's name when the invoice is sent.
To insert a placeholder, select it from the drop-down menu and click Insert.

Placeholders are validated when you save. Entering one that isn't on this list stops the save with an error naming the offending variable.
Placeholders available in the Subject and HTML Body Content fields
| Placeholder | Replaced with |
|---|---|
{invoice_number} | The invoice number. |
{invoice_date} | The invoice date. |
{invoice_due_date} | The date the invoice is due. |
{days_until_due} | The number of days until the invoice is due. |
{days_past_due} | The number of days the invoice is past due. |
{amount_due} | The amount outstanding on the invoice. |
{pretty_amount_due} | The amount outstanding, formatted with its currency symbol and thousands separators. |
{invoice_currency_code} | The invoice's currency code, such as USD. |
{invoice_currency_symbol} | The invoice's currency symbol, such as $. |
{invoice_po_number} | The purchase order number recorded on the invoice. |
{invoice_public_invoice_page} | The public URL where the customer can view the invoice. |
{billing_portal_url} | The customer's Billing Portal URL. |
{to_customer_name} | The customer's name. |
{from_company_name} | Your company name. |
{contact_salutation} | The contact's salutation. |
{contact_first_name} | The contact's first name. |
{contact_last_name} | The contact's last name. |
You can also use any customer custom field as a placeholder, in the form {customer_<reference name>}, as long as that field is made available to e-Bill and is in use.
Maxio AI can automatically reformat message templates for clarity and improved formatting.
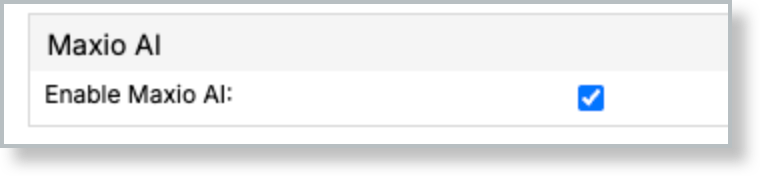
To turn it on, go to Admin > Account Settings > Maxio AI and check the Enable Maxio AI box. Maxio AI also has to be enabled for your account, so if the option below doesn't appear after you check the box, contact support@maxio.com.
Once enabled, a Reformat with AI option appears in the email editor toolbar. Select it and choose a tone.
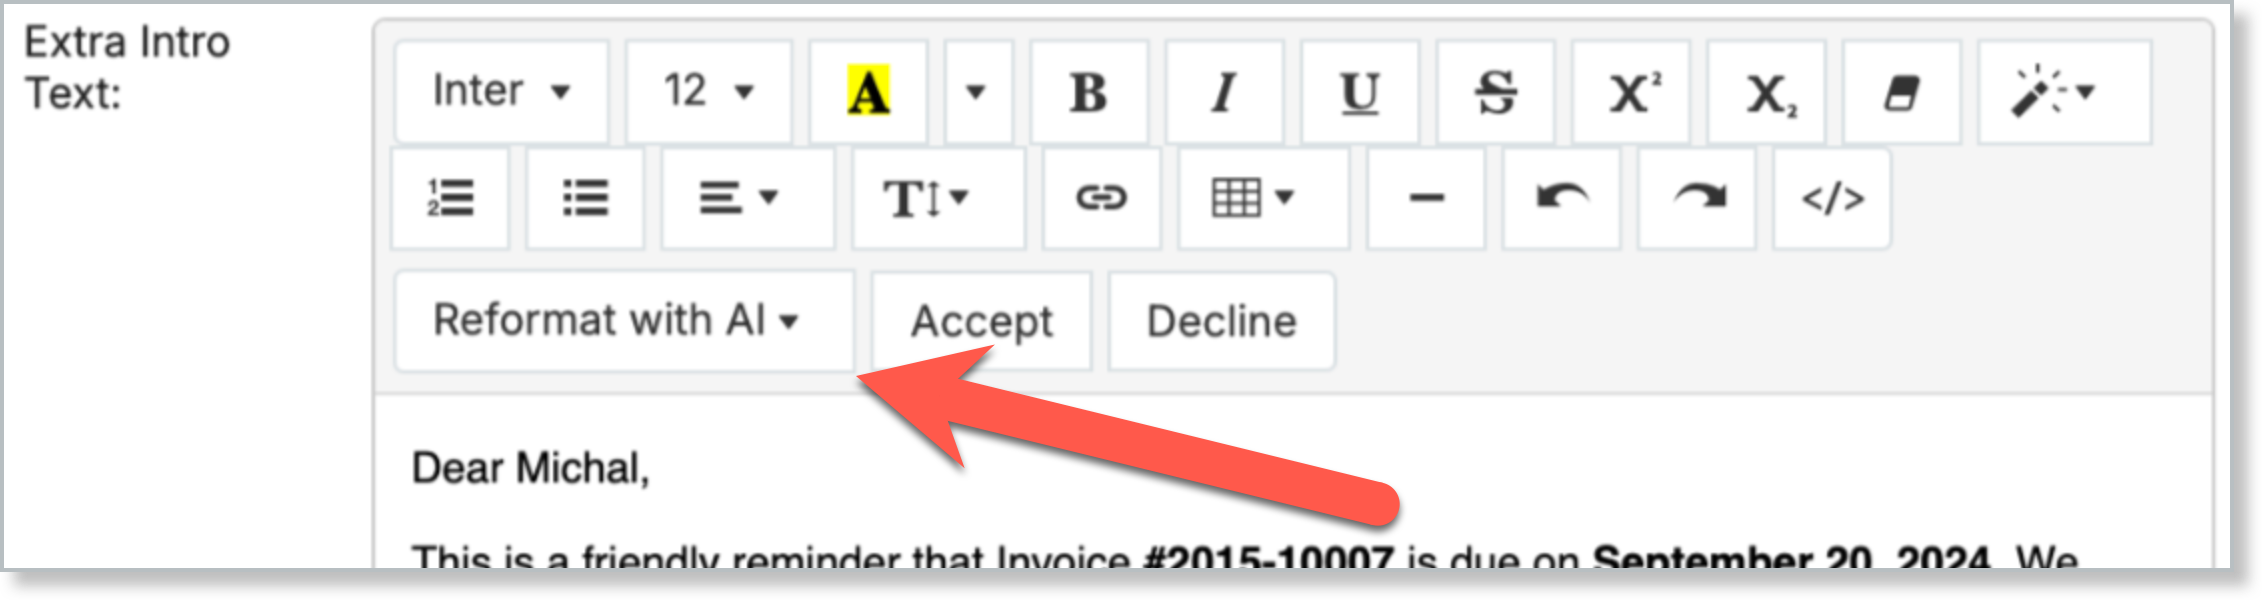
The following tone options are available:
Click the menu icon next to a message in the configuration screen to see these options:
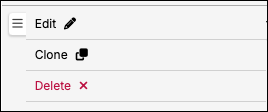
WARNING: Deleting a message cannot be undone.
Delete does not appear for the message currently selected for Auto Send while that feature is enabled. Assign a different message to Auto Send first, then delete this one.
Still need help?
Reach out and our support team will take it from here.