
Loading article…
Loading article…
Last updated on Aug 28, 2026
BETA
This feature is currently in beta and may change over time. During the beta period, functionality, availability, and performance may vary.
To join the Beta program, request Beta access.
User accounts in Maxio define login credentials and role-based permissions for your system's users. From Admin > Settings > Users, you can manage user creation, editing, password resets, and deactivation, helping ensure secure, organized access across billing, expenses, and reporting.
This opens a list of the users in your system. Note that the list automatically applies a filter to display only active users by default. You can remove this filter at any time to view your users.
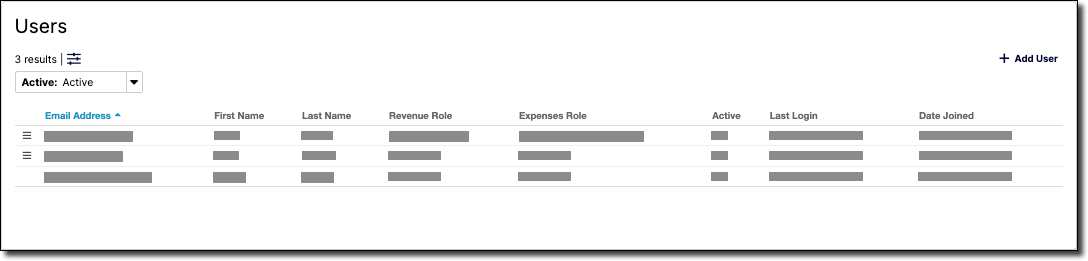
Click a username in this list to view that user's corresponding profile. Note that your account must have an Admin Role to create and edit other users.
Click Add User in the top-right section of the screen above the User List. This opens the Create New Maxio User screen.
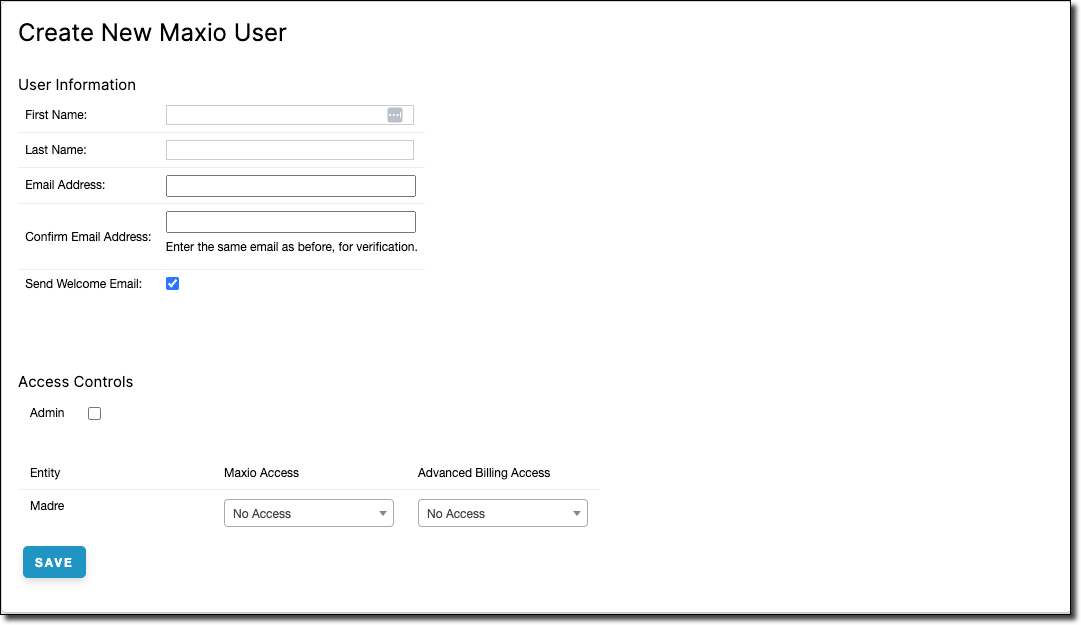
Enter the following information about the new user:
Click Save. Maxio sends the new user a welcome email containing a link to set their password and authenticate into their account, and confirms on screen that the email was sent.
Important: If your account uses Enterprise SSO, Enable 2FA is checked and cannot be changed, and it has no effect, because two-factor authentication is handled by your identity provider instead.
The edit screen also carries an Active checkbox, which enables or disables login privileges for the user. To cut off a user's access immediately, use Deactivate a User instead.
For the full procedure, including what the user receives and what to do when the reset email does not arrive, see Reset a User's Password.
As an Admin, you set the new password yourself rather than sending the user a reset link.
Locate the user whose password you want to reset.
Click the menu icon at the start of that user's row and select Change Password.
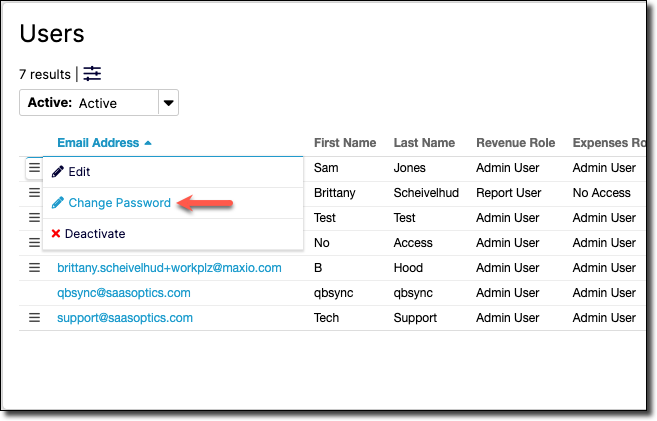
Enter and confirm the new password. Because this password is temporary, it is not held to your account's password policy.
Leave Generate Notification checked to see a confirmation screen containing the new password and your login URL, so you can pass both to the user. Clear it to return straight to the user list.
Click Save.
The user is prompted to change this password the next time they log in.
Important: Generate Notification appears only when you change another user's password. Changing your own password follows your account's password policy in full, and no notification screen is shown.
Maxio does not delete user accounts. Instead, you can deactivate them. Deactivation prevents login access and preserves audit trail data and report ownership.
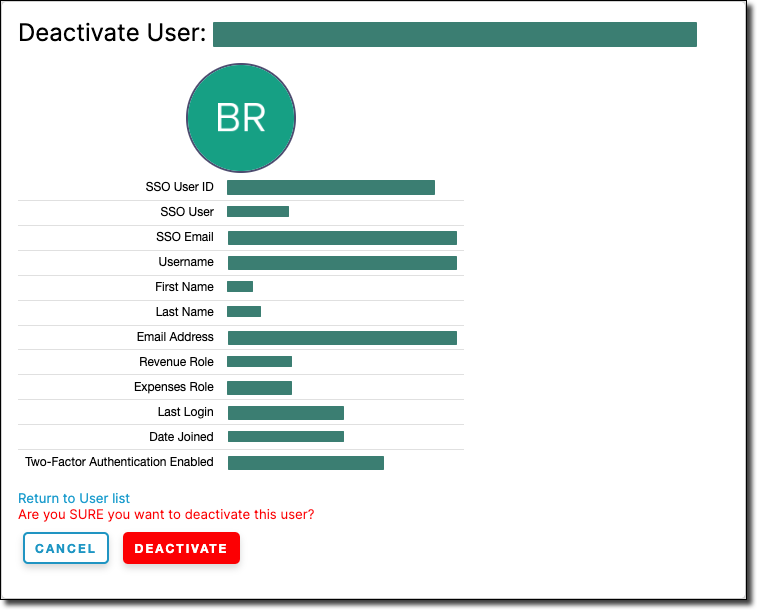
The user is now deactivated and cannot log in.
You cannot deactivate your own account, so Deactivate does not appear on your own row.
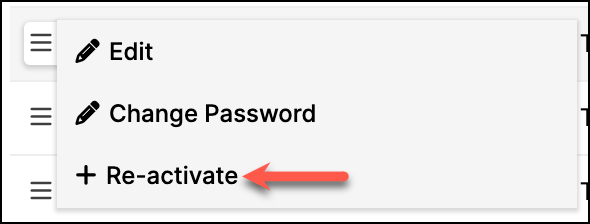
To reactivate a user, select the Re-activate option from the same menu.
Still need help?
Reach out and our support team will take it from here.