
Setup the HubSpot Integration
Applies to: Advanced Billing
Last updated on Aug 25, 2026
Connect an Advanced Billing site to HubSpot so your product catalog, customers, and deals can start syncing between the two systems. Completing this connection is required before you configure sync options.
Before you begin
Confirm the following before you start:
- You have a Super Admin role in HubSpot and an Admin role in Advanced Billing.
- Your Advanced Billing site is on the Relationship Invoicing architecture. If your site is on the older Statement-based architecture, contact support@maxio.com about upgrading.
- HubSpot Product Library syncing requires a HubSpot Professional or Enterprise plan. A HubSpot Starter plan can sync Customer and Contact records, but not the product catalog. HubSpot Free is not supported.
- If you plan to use multiple currencies on HubSpot deals, configure multi-currency in both Advanced Billing and HubSpot before connecting.
- If you plan to map Advanced Billing custom fields to HubSpot custom properties, create them now so they're included in your first sync. You can add more custom fields at any time after connecting and sync them over with the Re-sync Custom Fields button.
You must test the integration in a HubSpot test account before enabling it in production. Common setup issues include connecting to the wrong HubSpot account, or missing activity filters needed to display Advanced Billing timeline events.
Prepare Advanced Billing
A few things need to be in place on the Advanced Billing side before you connect to HubSpot.
To prepare Advanced Billing before connecting
- If you plan to use multiple currencies on HubSpot deals, enable the desired currencies via Config > Settings > Multi-Currency. See Set up multi-currency.
- If you plan to map Advanced Billing custom fields to HubSpot custom properties, create them now: Config > Custom Fields > Create Custom Field. See Create Advanced Billing custom fields.
- Build your product catalog (Products, Components, Coupons, Price Points) and define pricing. These elements sync into HubSpot. See Build your Product, Components, Coupons, Price Points.
Important: HubSpot only accepts line-item billing frequencies of 1, 3, 6, 12, 24, or 36 months. A price point on a different interval fails to sync.
Prepare HubSpot
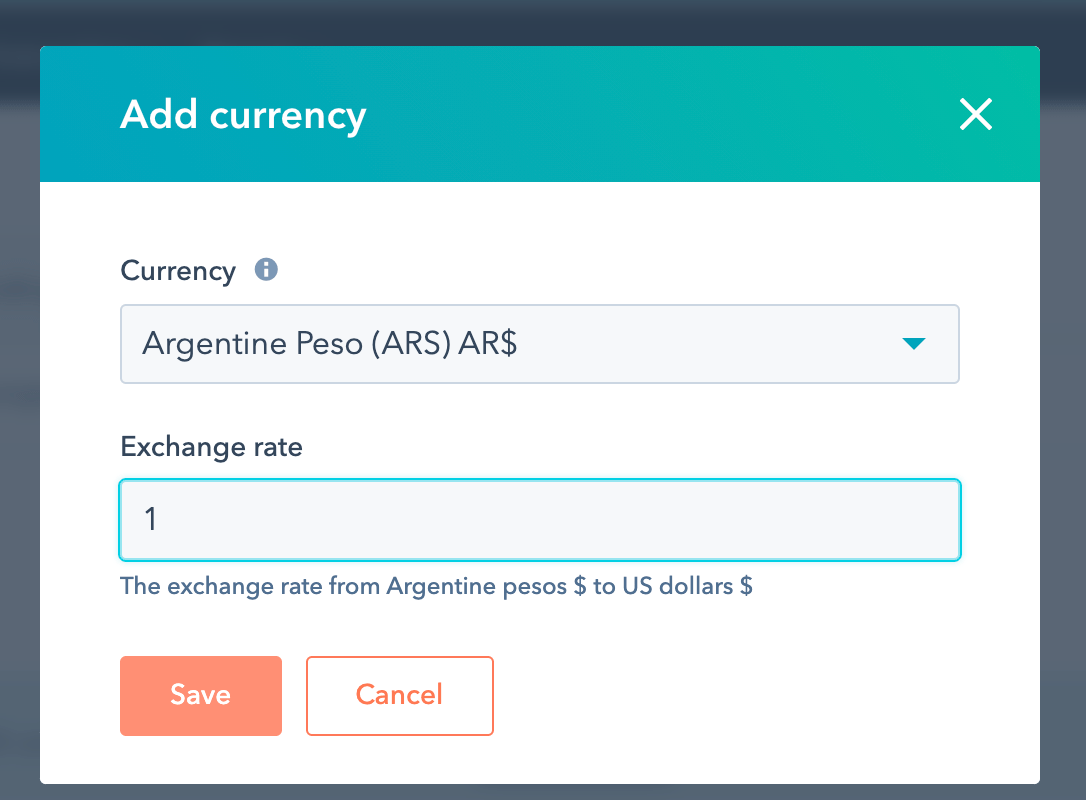
If you plan to use multiple currencies on HubSpot deals, enable the desired currencies in HubSpot too, via Settings > Account Defaults > Currency. See HubSpot multi-currency setup. Skip this section entirely if you're not using multi-currency.
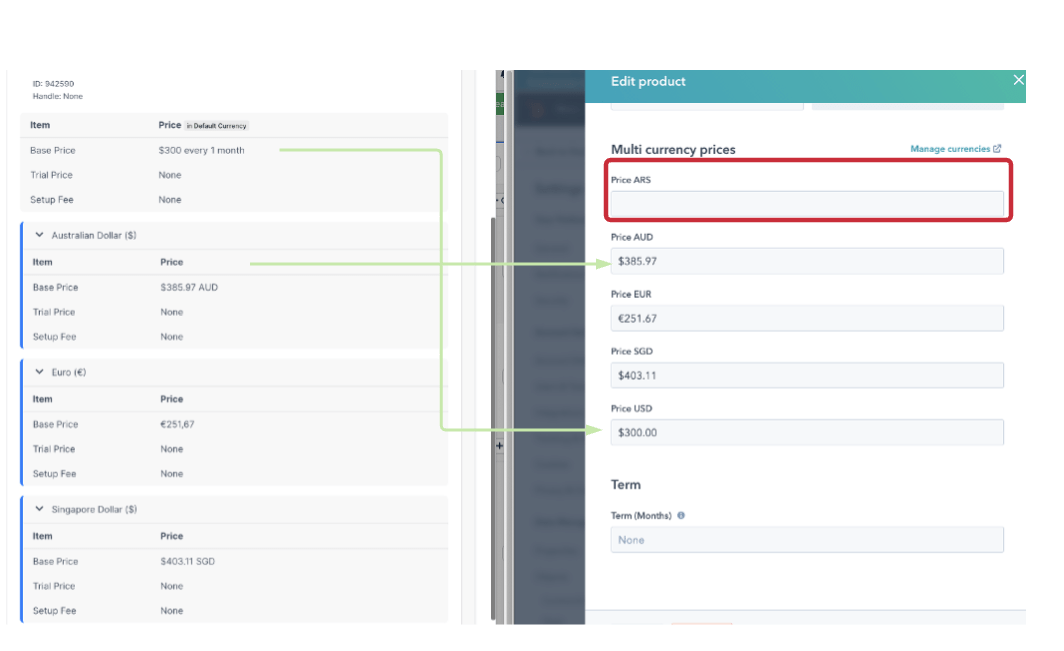
The integration does not require HubSpot exchange rate setup. If a currency is enabled in Advanced Billing but not in HubSpot, the integration strips that currency during sync and retries.
Connect the integration
With Advanced Billing and HubSpot both prepared, authorize the connection between them.
To connect the integration
- Log in to your Advanced Billing account and select the site to connect.
- Go to Config > Integrations > HubSpot.
- Click Connect to HubSpot. You must be logged into HubSpot.
- Select the HubSpot account to connect and click Choose Account.
- Click Connect App and confirm authorization.
Confirm the connection
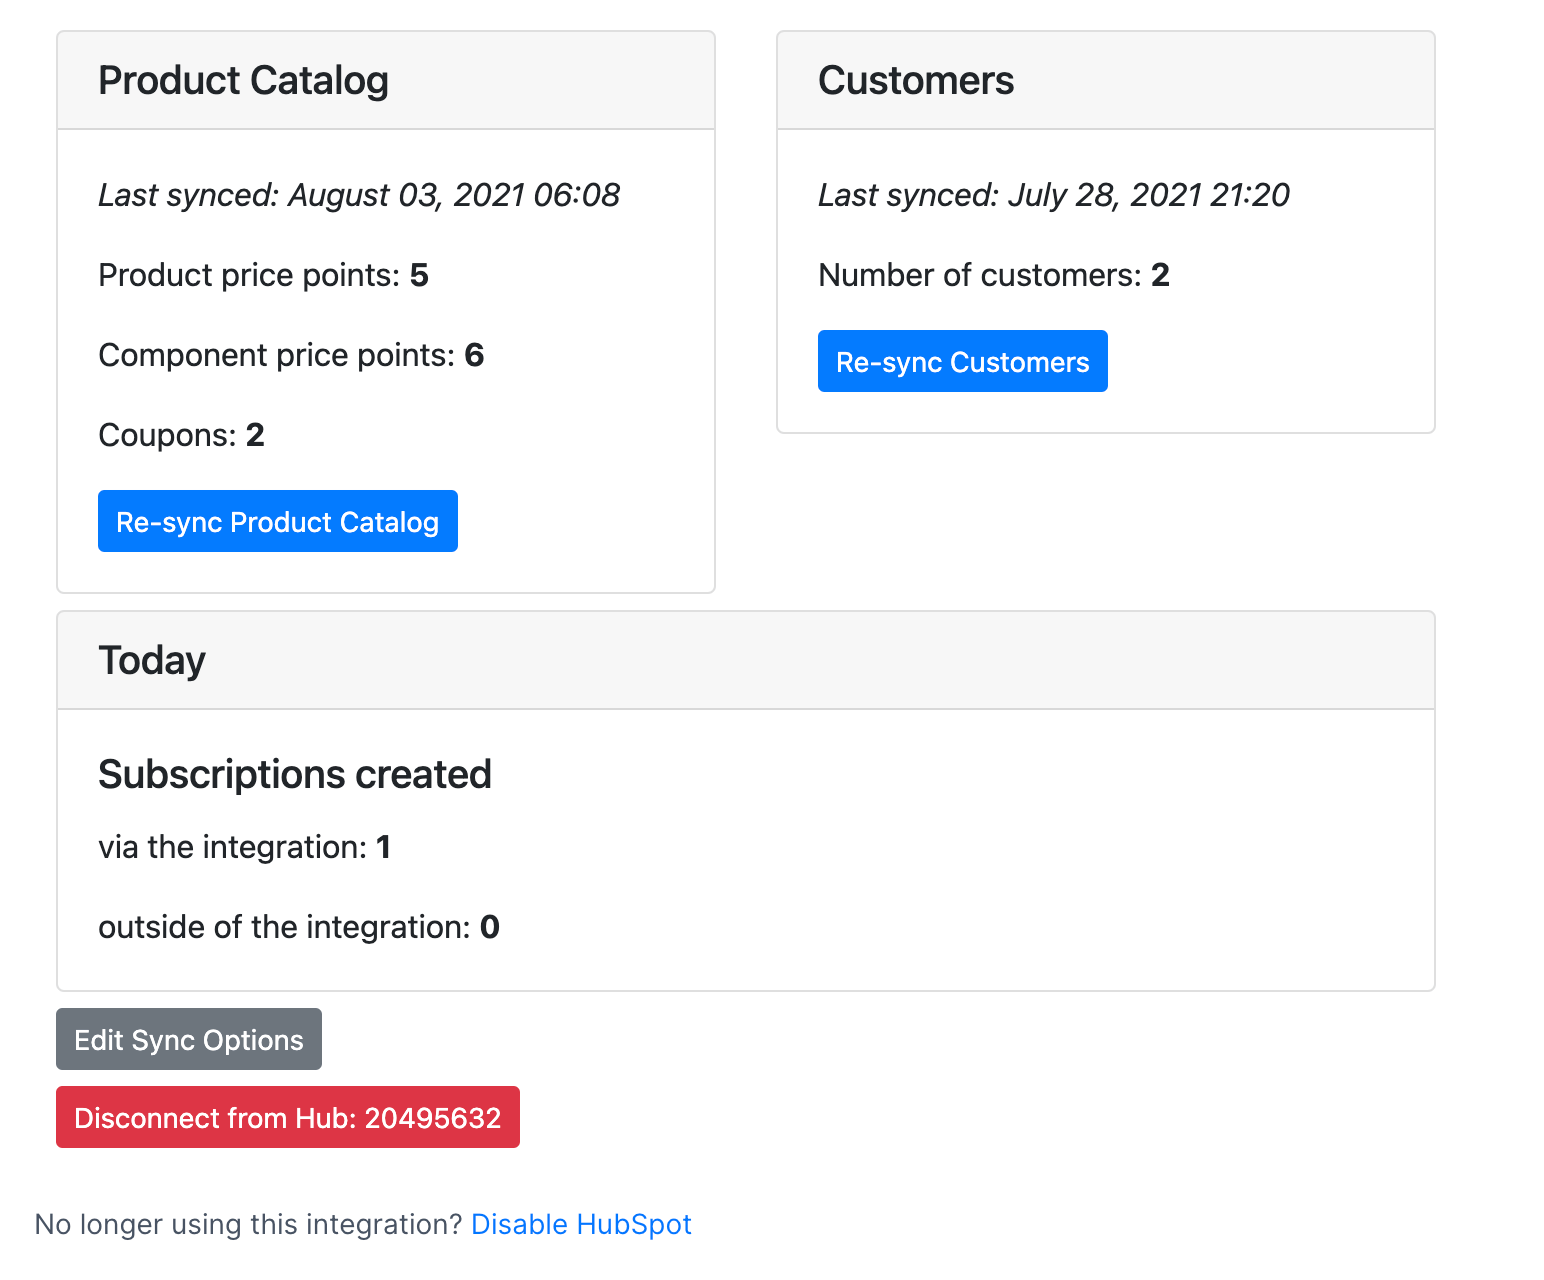
After connecting, go to your HubSpot Product Library to verify that your Advanced Billing product catalog is available: Settings > Objects > Products.
You can force a full product re-sync from Advanced Billing at any time: Config > Integrations > HubSpot, then click Re-sync Product Catalog.
Expose Advanced Billing properties in HubSpot
After setup, expose relevant properties on Deal and Contact records so your team can see them.
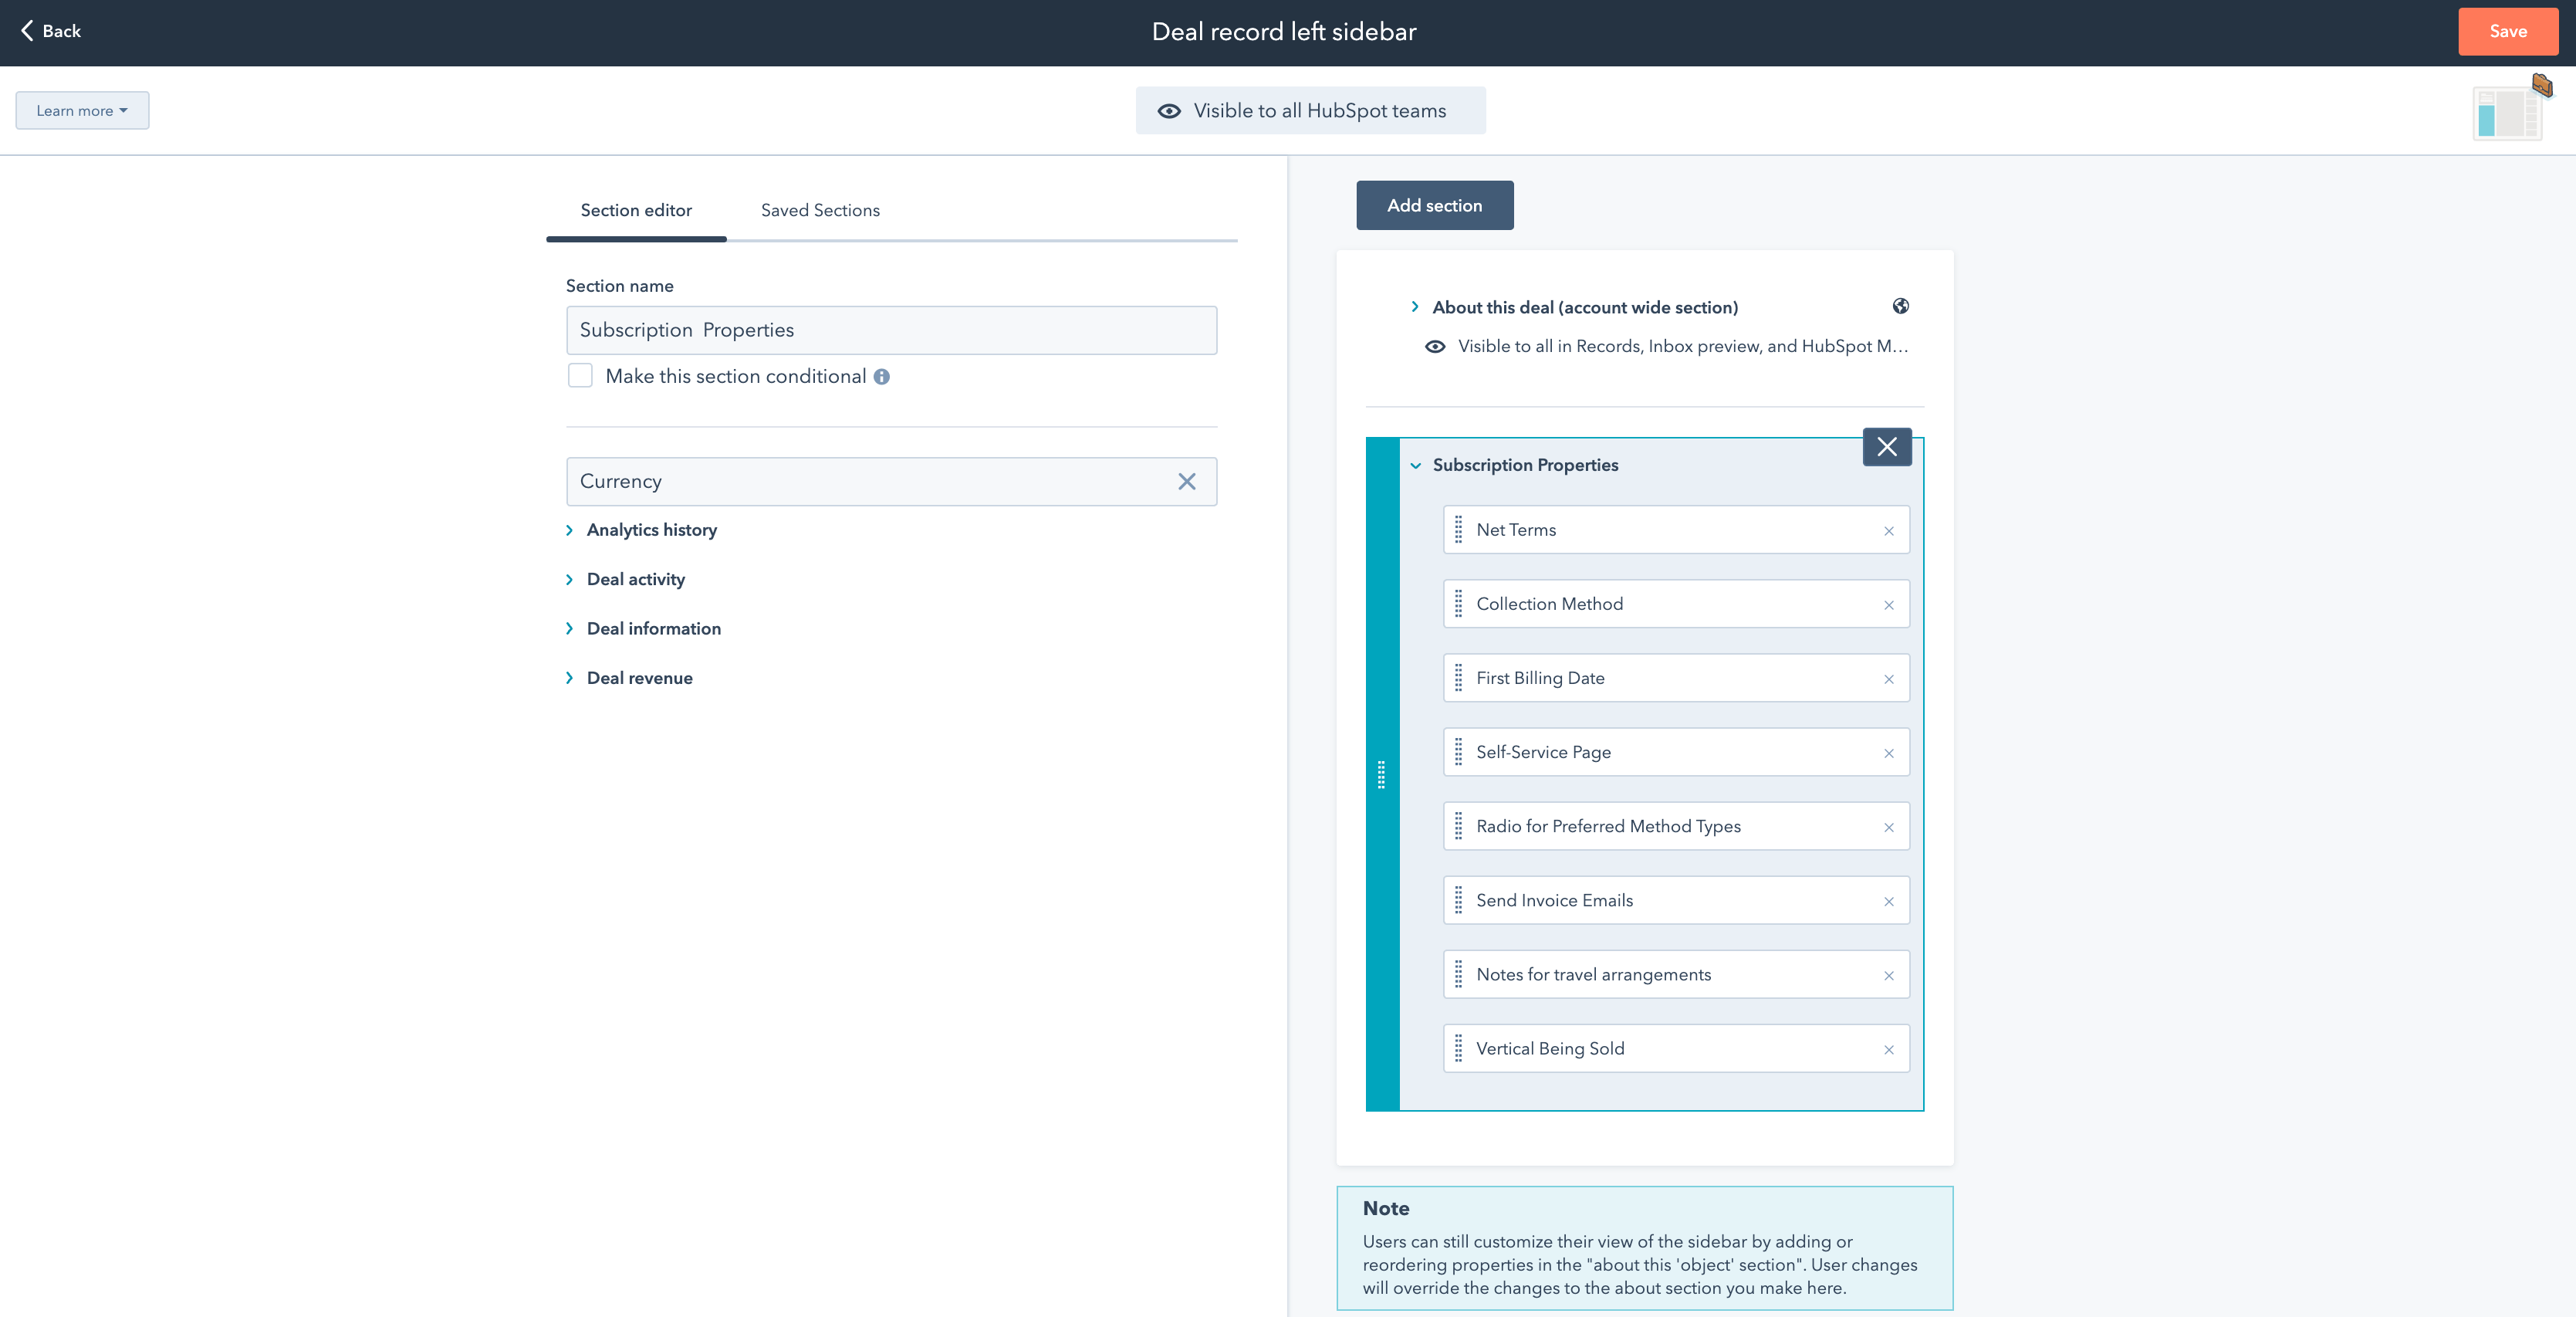
To surface subscription properties on HubSpot Deals
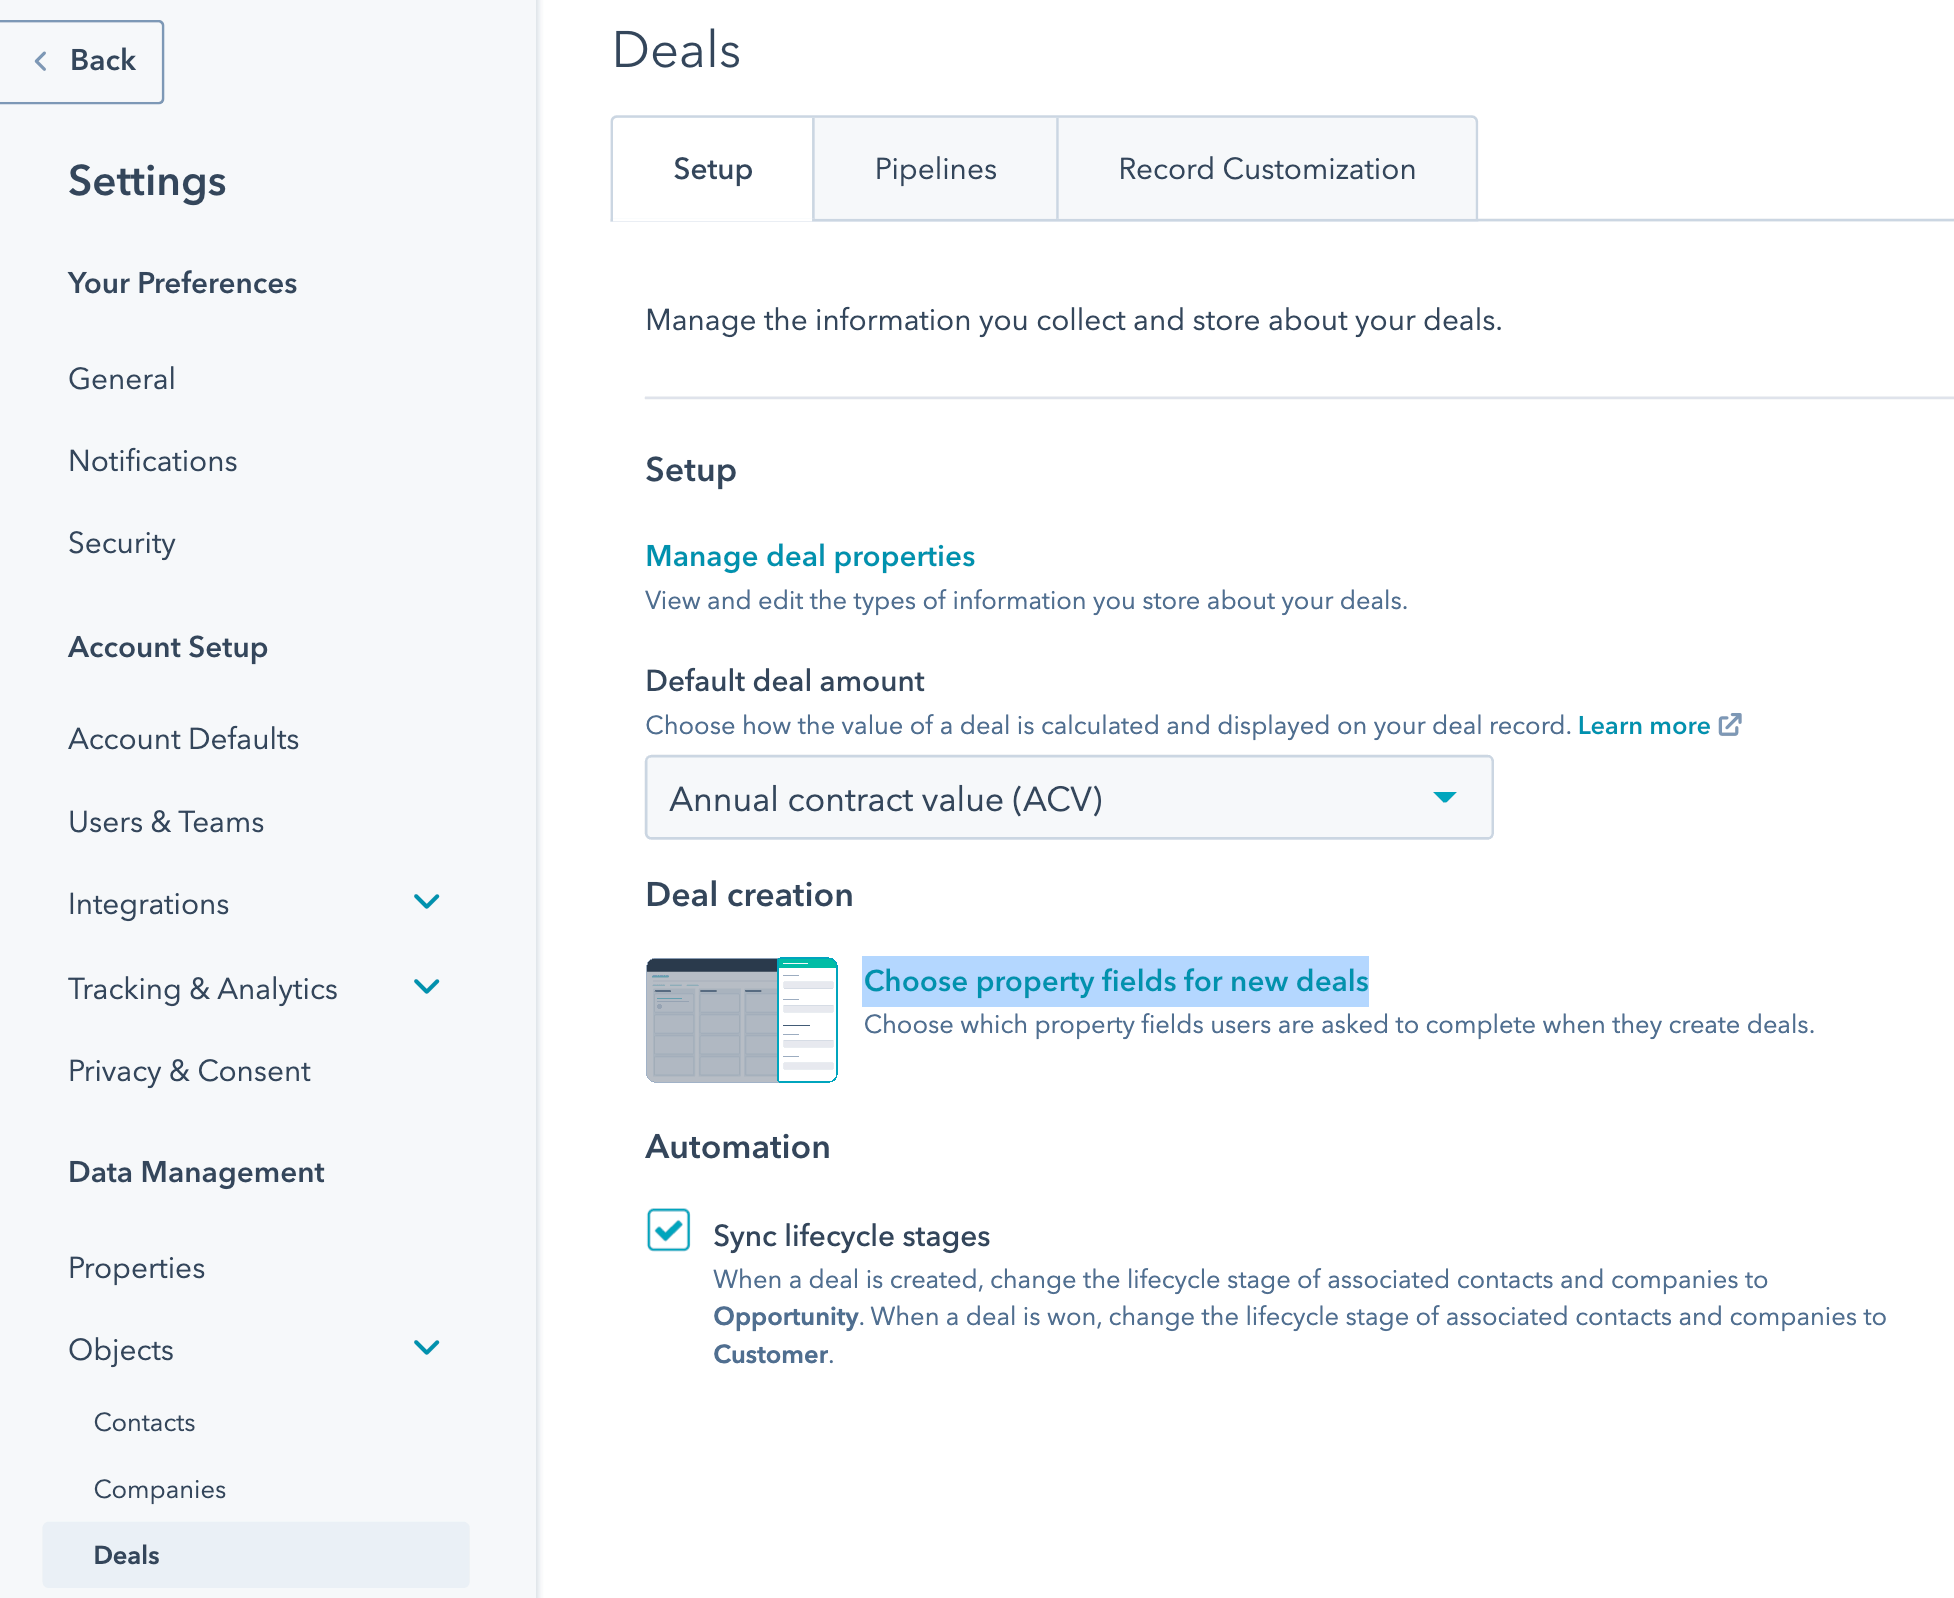
- In HubSpot, go to Settings > Objects > Deals.
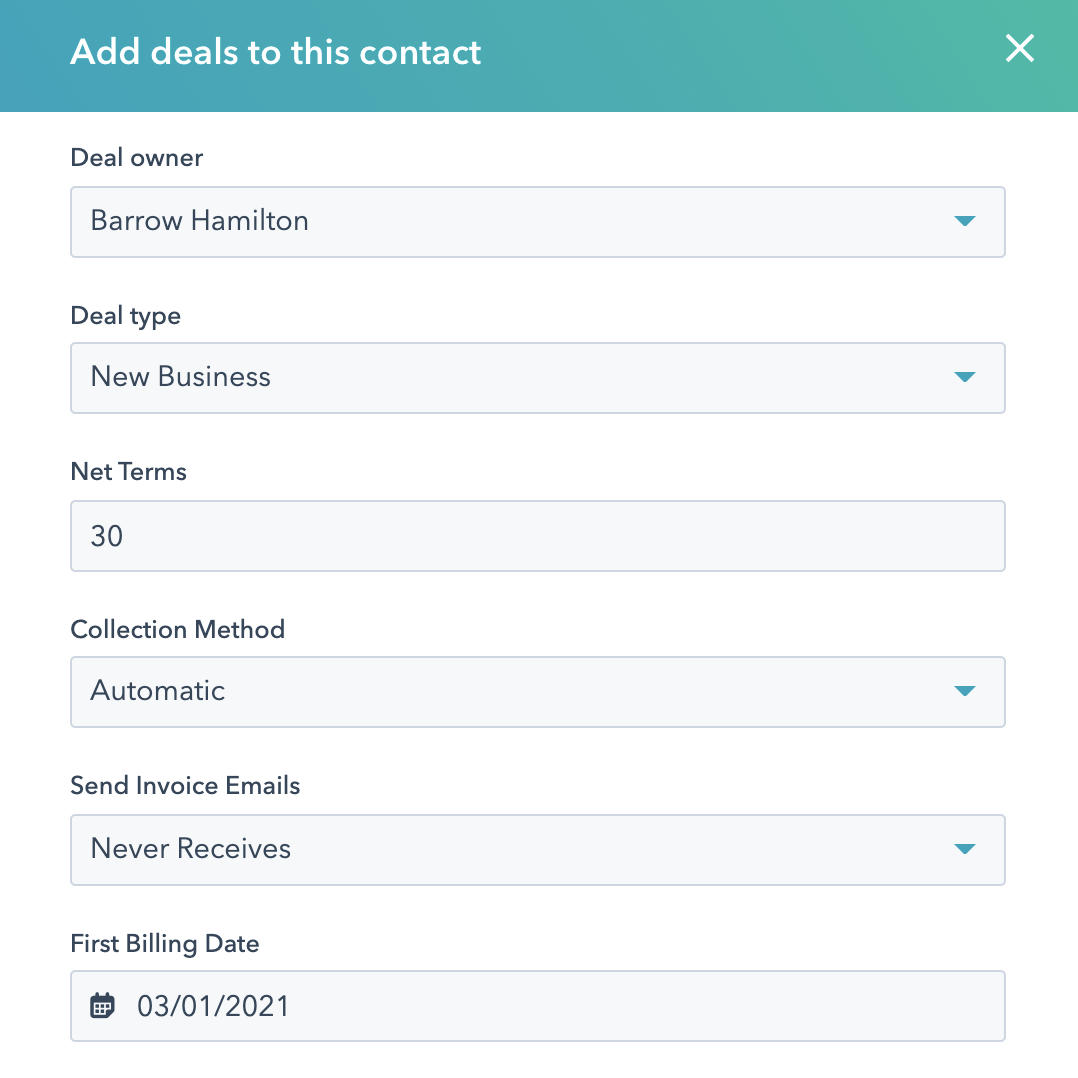
- Under the Setup tab, click Choose property fields for new deals.
- Edit the card to tailor which fields appear when creating a new deal.
- Switch to the Record customization tab and manage the views your team sees. Ensure the needed fields are added:
- Net Terms
- Collection Method
- First Billing Date
- Send Invoice Emails
- Self-Service Page
- (Optional) Custom fields mapped from Advanced Billing subscriptions
- Click Save.
To surface customer properties on HubSpot Contacts
- In HubSpot, go to Settings > Objects > Contacts.
- Under the Setup tab, click Choose property fields for new contacts.
- Edit the card to tailor which fields appear when creating a new contact.
- Go to Record customization and configure contact views. Ensure these fields are visible:
- CC Emails
- Tax Exempt
- VAT Number
- (Optional) Any Advanced Billing custom fields tied to Customer records
- Click Save.
Next steps
You are now connected. Next, configure how data syncs between Advanced Billing and HubSpot.
Continue to Configure HubSpot Integration Sync Options.
Related information
If synchronization fails or you run into connection issues, see Troubleshooting and FAQs.
Still need help?
Reach out and our support team will take it from here.