
Configure Custom Field Mapping for Salesforce
Applies to: Advanced Billing
Last updated on Aug 24, 2026
Map a custom field between Advanced Billing and Salesforce so its value syncs along with the rest of a record's data. Mapping a custom field takes two parts: creating the field in Salesforce, then pointing the integration at it.
Create the Salesforce field
Before you can map a custom field, the Salesforce field it maps to must already exist and be added to the right page layout.
To create the field
-
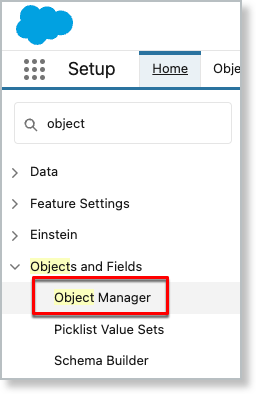
Navigate to Setup > Object Manager.
-
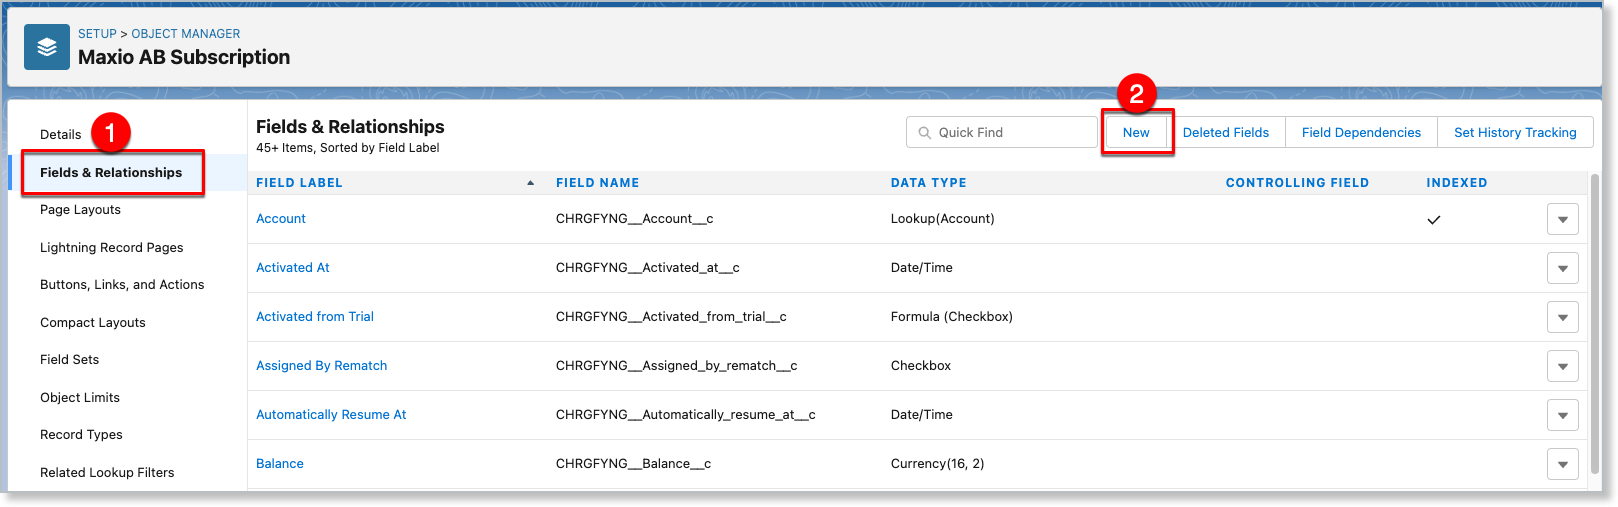
Choose the object the field belongs on, for example Maxio AB Subscription.
-
Click Fields & Relationships, then click New.
-
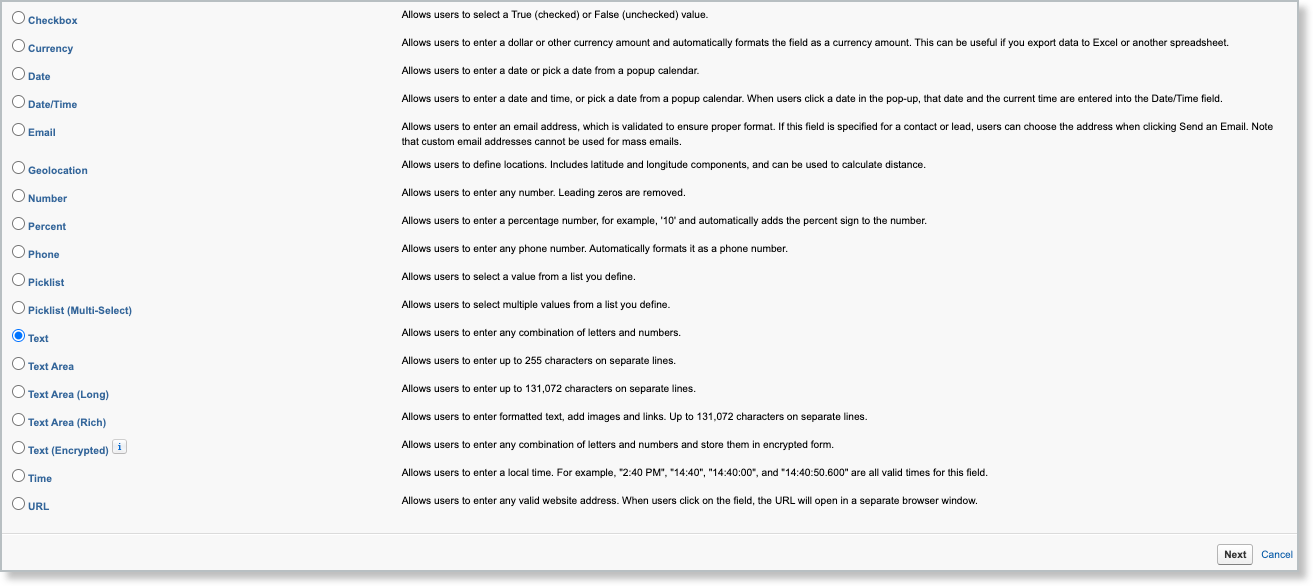
Choose the field type that best fits the data this field will hold, then click Next.
-
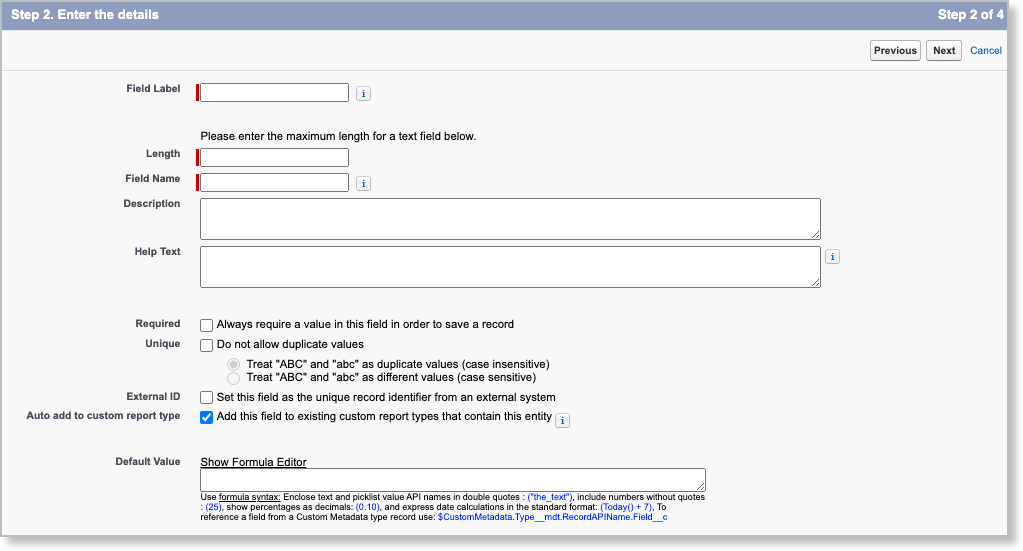
Enter the required details, then click Next:
-
Field Label - Used in page layouts, reports, and list views.
-
Field Length - The maximum length for a Text field.
-
Field Name - An internal reference used for custom links, custom s-controls, and the API.
Changing the Field Name after it's in use may affect existing integrations.
-
-
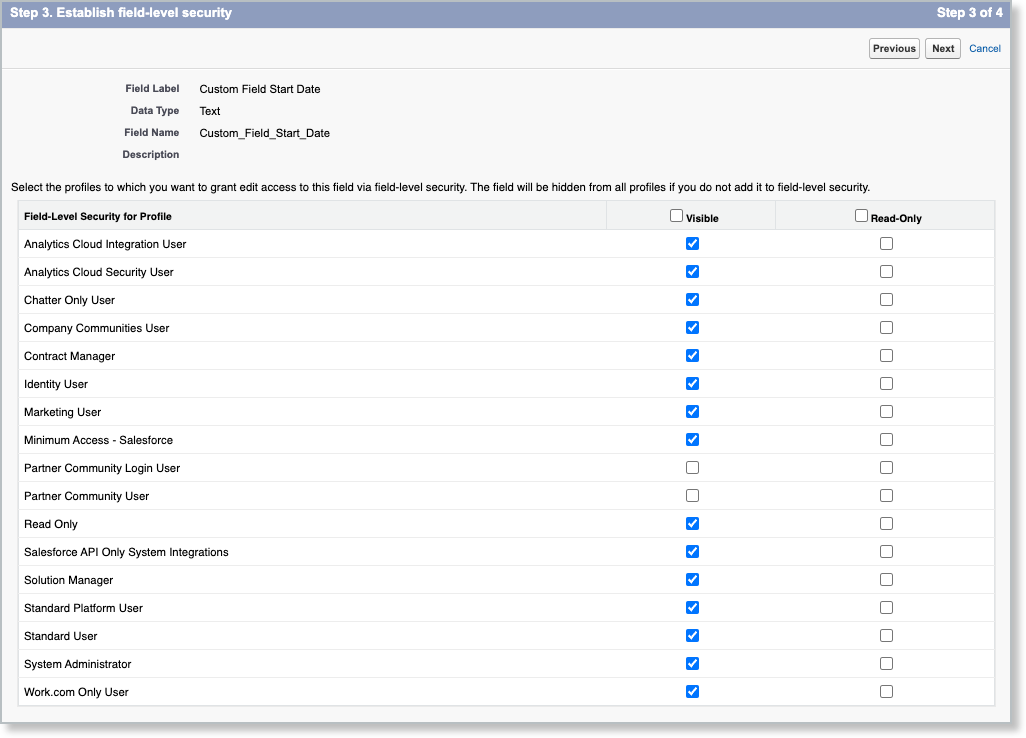
Select the field-level security for each profile listed, then click Next. This field is hidden from any profile you don't select.
-
Select which page layouts to add this field to, then click Save.
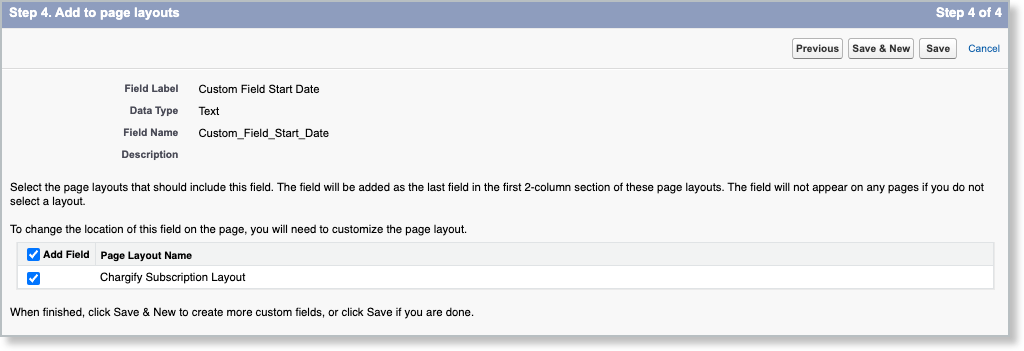
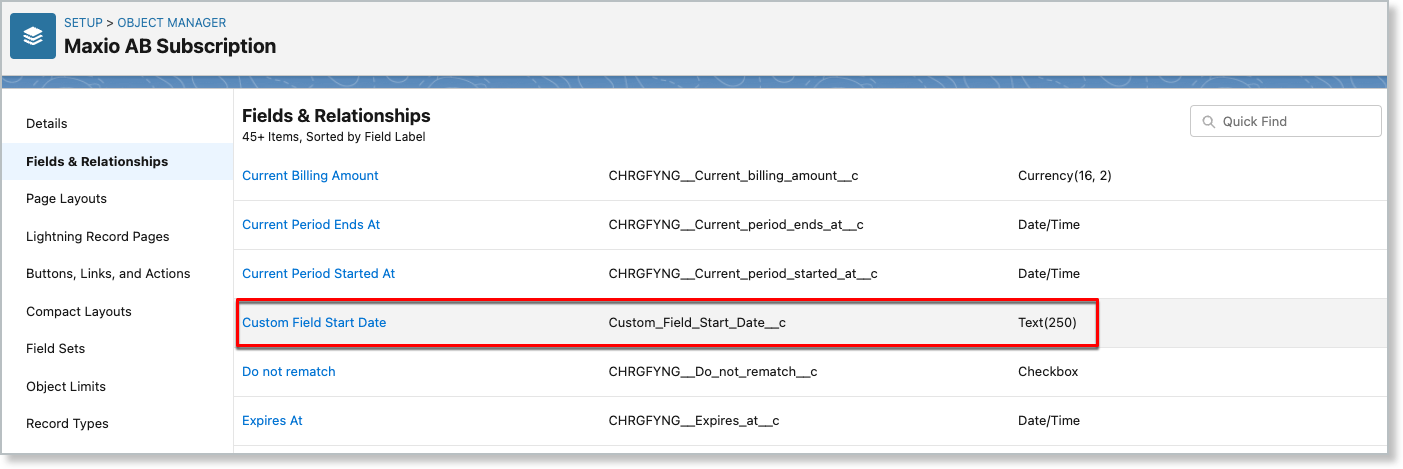
Confirm the field was added to the page layout you selected. Once it's there, it becomes available in Choose Salesforce Field when you map it in the next section.
Map the custom field
Once the Salesforce field exists, connect it to its matching Advanced Billing field.
To map a custom field
-
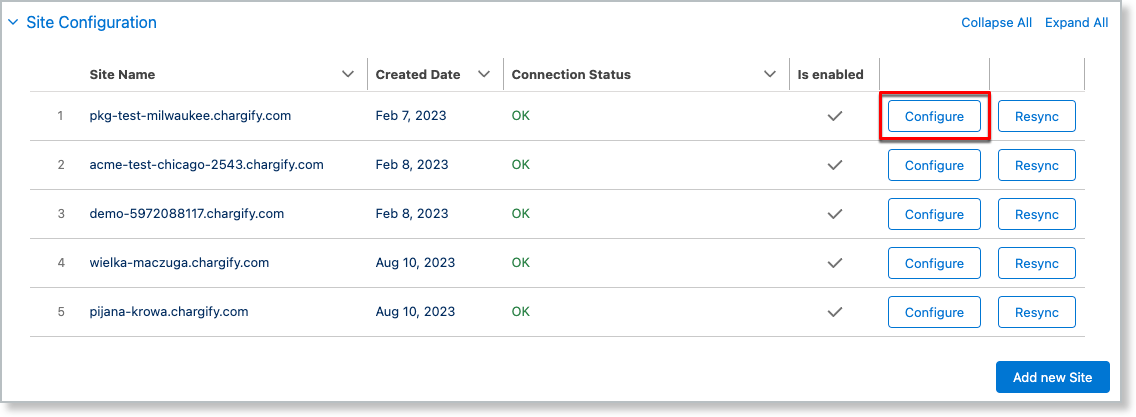
Navigate to the Maxio AB Configuration tab, find your site under Site Configuration, and click Configure.
-
Scroll down to the Custom Fields Mapping section and click Add New Custom Field Mapping.

-
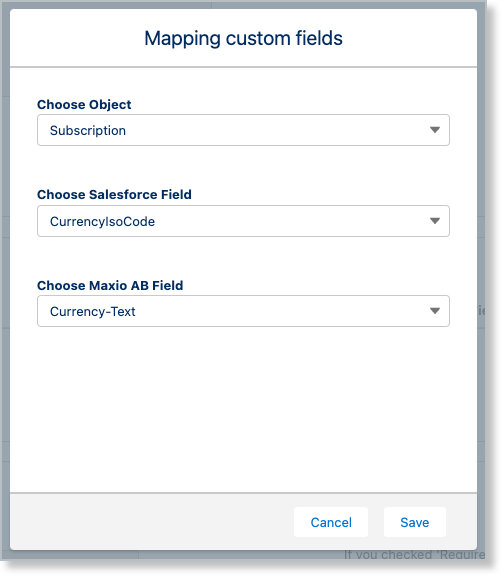
In the Mapping custom fields popup, fill in these fields and click Save:
- Choose Object - The Salesforce object the field belongs to, for example Subscription.
- Choose Salesforce Field - The field you created in the previous section.
- Choose Maxio AB Field - The Advanced Billing field to map it to.
Related information
To install and connect the integration before mapping custom fields, see Setup the Salesforce Integration.
Still need help?
Reach out and our support team will take it from here.