
Add New Customers
Applies to: Advanced Billing
Last updated on Aug 30, 2026
Create a Customer in Advanced Billing before you set up a Subscription, so you have a place to track billing contacts, shipping details, tax settings, and any custom data specific to that account.
Add a customer
You only need a first name, last name, and email address to get started. Everything else is optional. Fill it in now or update it anytime. For a full description of every available field, see Customer Fields Reference.
To add a new customer
If Maxio Platform is enabled for your Site, Organization is required instead, and First Name and Last Name become optional.
-
From Advanced Billing, go to Billing > Customers.
-
Click Create New Customer.
-
Enter the customer's first name, last name, and email address, plus any other information you want to set now.
-
If your site has any Customer custom fields, select one from the Select Field dropdown and enter a value. Repeat for each custom field you want to set.

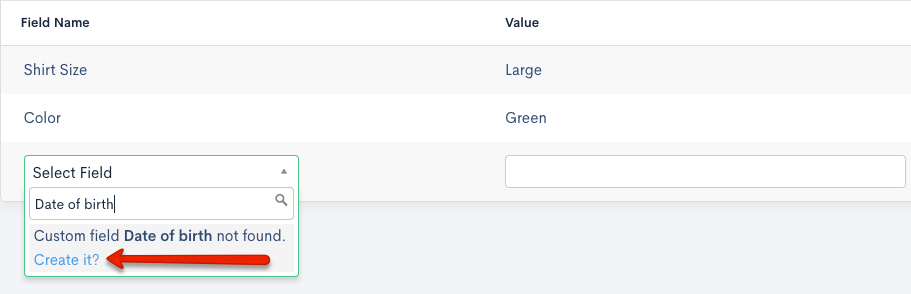
To create an entirely new Customer custom field, see Configure Custom Fields.
-
Click Create Customer to save the new customer.
What to expect
The new Customer appears in your Customer list, ready to use for Subscriptions. To edit or delete a custom field value after the customer is created, see Manage Customers.
Related information
To view the Customer record you just created, see View Customer Information.
To understand how Customer records relate to your Subscriptions, see Understand Customers for Subscription Management.
Still need help?
Reach out and our support team will take it from here.