
Understand Advanced Billing Sites
Applies to: Advanced Billing
Last updated on Sep 20, 2026
A Site is the container for your Products, Customers, and Subscriptions. Advanced Billing creates your first one when you choose a currency during onboarding.
How many sites you need
One Site is enough to operate, but most merchants keep at least two: one for testing and one for production, so experiments never touch paying customers.
Site limits
The following limits apply per account:
- Every plan level allows a maximum of 10 test sites. Creating an eleventh returns Number of test sites exceeded.
- Developer plans allow 10 users per account; paid plans allow 1,000.
- A test site can send 100 emails per rolling 24 hours. Beyond that, messages are marked over limit and aren't delivered.
For user access, see the Setup User Access and Permissions help article.
The Account Overview screen
Account Overview lists every Site in your account alongside account-wide analytics and security controls. It's usually the first screen you see after logging in.
The tabs on the Account Overview screen
| Tab | What it does |
|---|---|
| Sites | Access all of the sites on your Advanced Billing account. From this tab, you can create new Sites and clone/edit/delete existing Sites. |
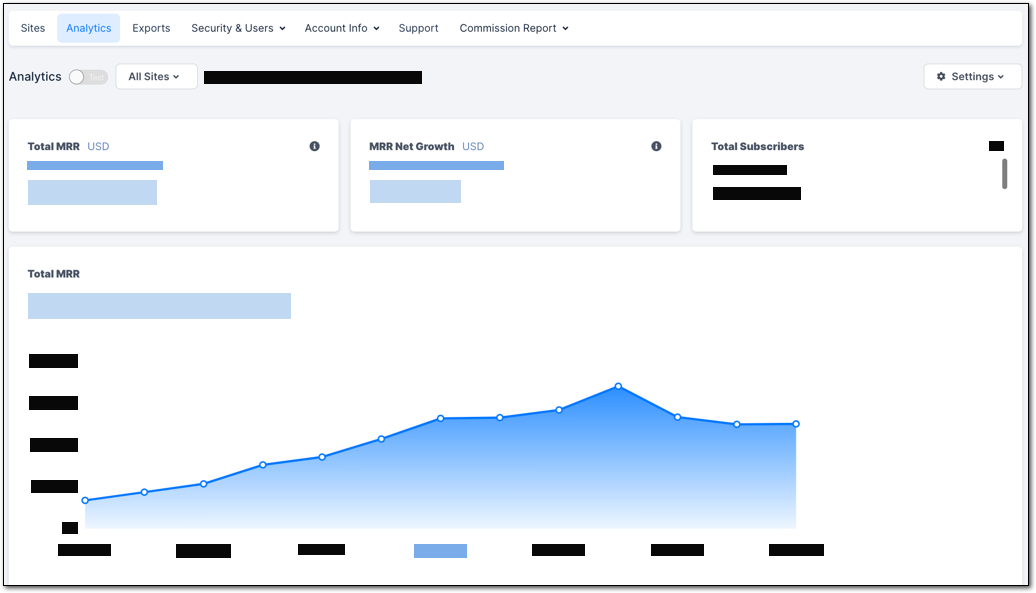
| Analytics | View account-wide analytic information such as total MRR and MRR net growth. You can view either live or test data, as well as which specific sites should appear in the report. |
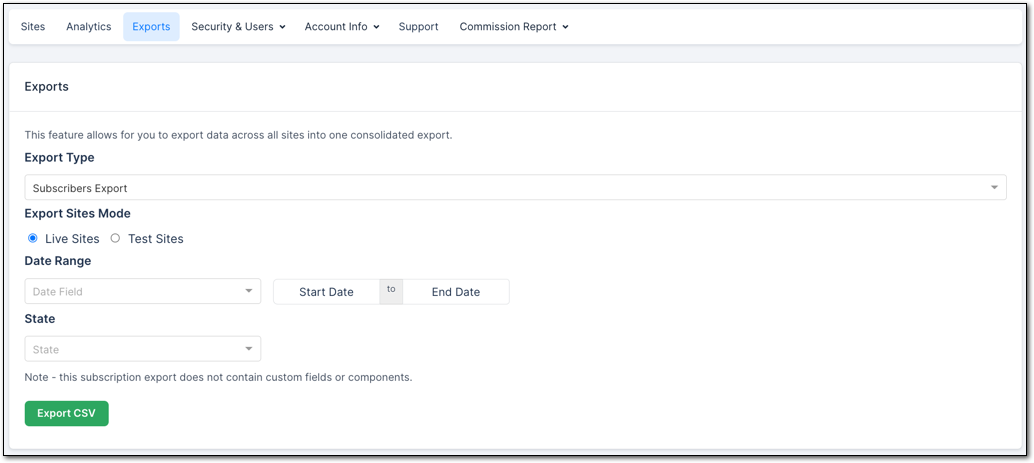
| Exports | Export data across all sites into one consolidated file. Choose the export type, the Sites mode, and any other options, then click Export CSV. |
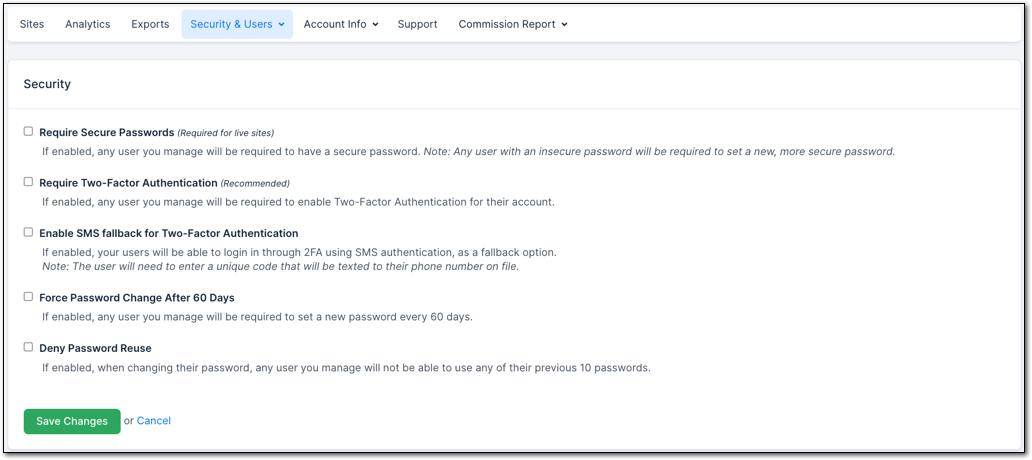
| Security and Users | Configure your account's security settings and user access. |
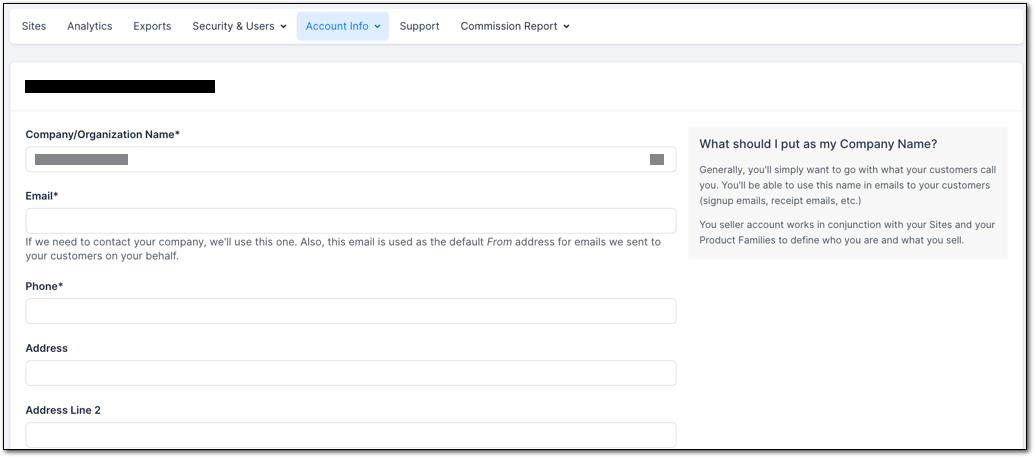
| Account Info | View your merchant and billing information. |
| Support | Access Advanced Billing's documentation and contact support@maxio.com. |
| Commission Report | Generate a report of your sales commissions, and manage your sales reps. |
Create a Site
The toolbar always offers a route to the New Site page: either a Create Site button, or a Create a new Site link when you hover over the Site dropdown. Both are shown prominently when you first log in.
What site data controls
Site data controls the core attributes of a Site, including how your subscribers receive email from you. See the Edit Site Details help article for editing each field.
Name your site
The site name identifies the Site to you and is never shown to your customers. Test and Production are sensible starting names.
How your subdomain works
Your subdomain identifies your site uniquely (across all of Advanced Billing) and is most visible within the Public Pages. For example, a subdomain of acme gives you the Advanced Billing URL:
https://acme.chargify.comYour customers may see your subdomain within the URL of your Public Pages if you choose to use them. It's smart to pick a name that is similar to your domain name.
How currency works
Advanced Billing supports multiple currencies. Each site has one primary currency and can have multiple other currencies defined (see Understand Multi-Currency in Advanced Billing).
The primary currency drives price displays in the web UI, and is the default applied to a new subscription when none is specified. Currency is stored on the subscription itself, so your gateway sees that subscription's currency on each transaction Advanced Billing submits. That can differ from your merchant account's settlement currency.
Once you've collected any revenue, the primary currency can't be changed. Defining any additional currency also locks the primary currency, even with zero revenue; removing every additional currency you added re-enables changing it, as long as the revenue condition still allows it.
Set your date and time format
The date and time formats you choose apply throughout Advanced Billing, including statements, invoices, and the application itself.
For backwards compatibility, API date and time formats are unaffected.
Understand test and live mode
Every site may be in one of two modes: test mode or live mode. Test mode is different from live mode in the following ways:
- Test mode only allows you to connect to test payment gateways, such as an Authorize.Net developer account.
- You may freely delete products and subscriptions on a Test Site, using the Clear Data functionality.
- Advanced Billing reserves the right to remove test site data automatically after a certain time frame: subscriptions on a test site whose state hasn't changed in more than 6 months are eligible for automatic cancellation.
Set your time zone
Set the time zone for your Site so next billing dates reflect local time. Statements, emails, and transactions follow the same time zone.
Set your reply email
Specify a display name alongside the address using the format Your Name <you@example.com>, which makes your emails read less anonymously.
This address is the from address on emails Advanced Billing sends your customers.
Switch between sites
To work with a Site, configuring products or viewing subscriptions, switch to it first using the site selector in the toolbar. The current Site is listed first, with your other Sites below it.
Clear or delete site data
A test site accumulates the products, subscriptions, and customers you created while trying things out. Clearing that data resets the site without deleting the site itself.
See the Clear Test Site Data help article for how to remove them.
Clone an Advanced Billing site
For how cloning works, see the Create and Use Sandbox Sites help article.
Related information
For the overall approach to testing before launch, see Understand Site Testing.
To create a Site for experimenting without affecting production data, see Create and Use Sandbox Sites.
To understand what a test Site can and cannot do, see Understand Test Sites.
When a Site is ready to take real payments, see Enable Site Live Mode.
For the settings available on each Site, see Understand Site Settings.
Still need help?
Reach out and our support team will take it from here.