
Public Signup Page Settings Reference
Applies to: Advanced Billing
Last updated on Sep 20, 2026
Use these settings to customize an individual Public Signup Page: currency, layout version, product price point, payment collection method, return URL, custom CSS and JavaScript, and more. Optimizing your Public Signup Pages helps reduce revenue leakage, streamline subscriptions, and improve your SaaS conversion funnel. For page-level actions like viewing, editing, disabling, or deleting a page, see Manage Public Signup Pages.
Access an individual Public Signup Page's settings
To customize an individual Public Signup Page's settings, select the Catalog menu, then Public Signup Pages. Next, click the Edit link next to the page you wish to customize. The settings below also apply when creating a new Public Signup Page.
Override default settings for a page
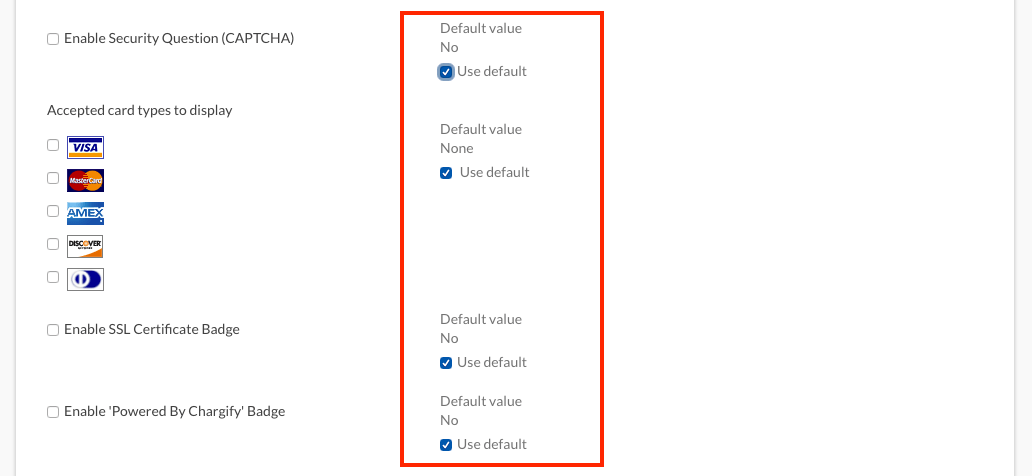
Advanced Billing allows you to control global defaults for all Public Signup Pages. However, each page can be customized individually. Select the Use Default option next to any setting to revert to the global default values. For a full list of default options, see Configuring Public Page Default Settings.
- Page Title
- Logo
- Home URL
- Privacy Policy URL
- Terms and Conditions URL
- Custom CSS
- Custom JavaScript
- Enable Security Question (CAPTCHA)
- Accepted Card Types to Display
- Enable Powered by Maxio Badge
For each of these settings, you can either use the default value or set a specific value for that Public Signup Page. Initially, the Use Default checkbox is selected. To edit a setting, uncheck the checkbox and then modify the field.
Page identity and branding
Set a nickname
The Nickname is an optional, freely chosen identifier to help you identify your Public Signup Pages. It's only shown inside the Admin UI and is never visible to subscribers.
Set a page title
Enter a title for your Public Signup Page that will appear at the top of the page for your subscriber.
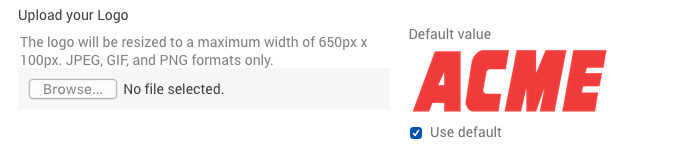
Upload your logo
By default your global logo displays on all Public Signup Pages. To upload a custom logo for this page only, uncheck Use Default and upload your desired image.
Set a home URL
Specify the URL that the logo will link to when a subscriber clicks it. The URL must begin with http:// or https://.
Enable the Powered by Maxio badge
If you enable this option in your page settings, Advanced Billing will display a badge indicating that Maxio powers your payments and link to additional security information for your customers.

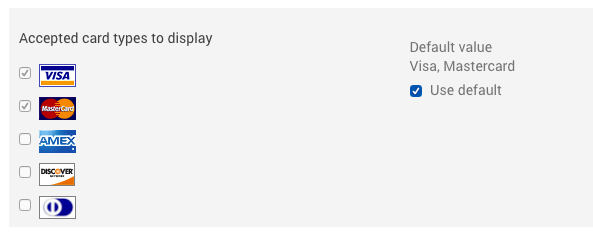
Choose accepted card types to display
A subscriber will not be prevented from using a card type you do not display. To restrict card types, you must contact your payment gateway.
Catalog and pricing
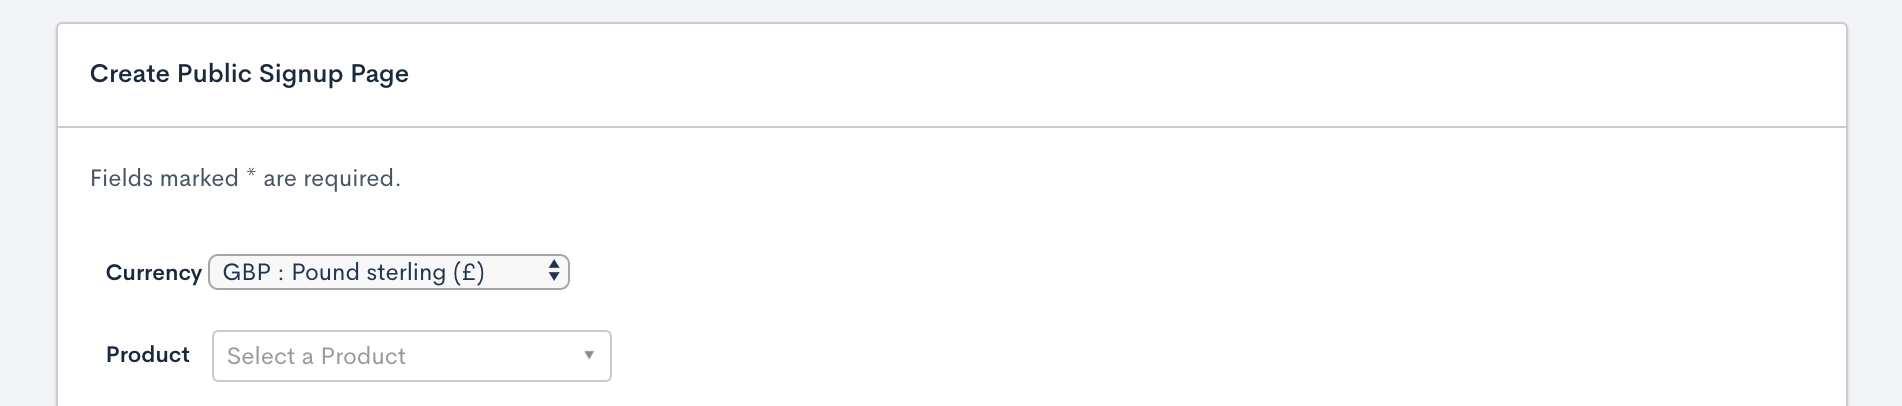
Select a product
Each Public Signup Page is linked to one of your products. For information on creating and managing products, see Understand Plans.
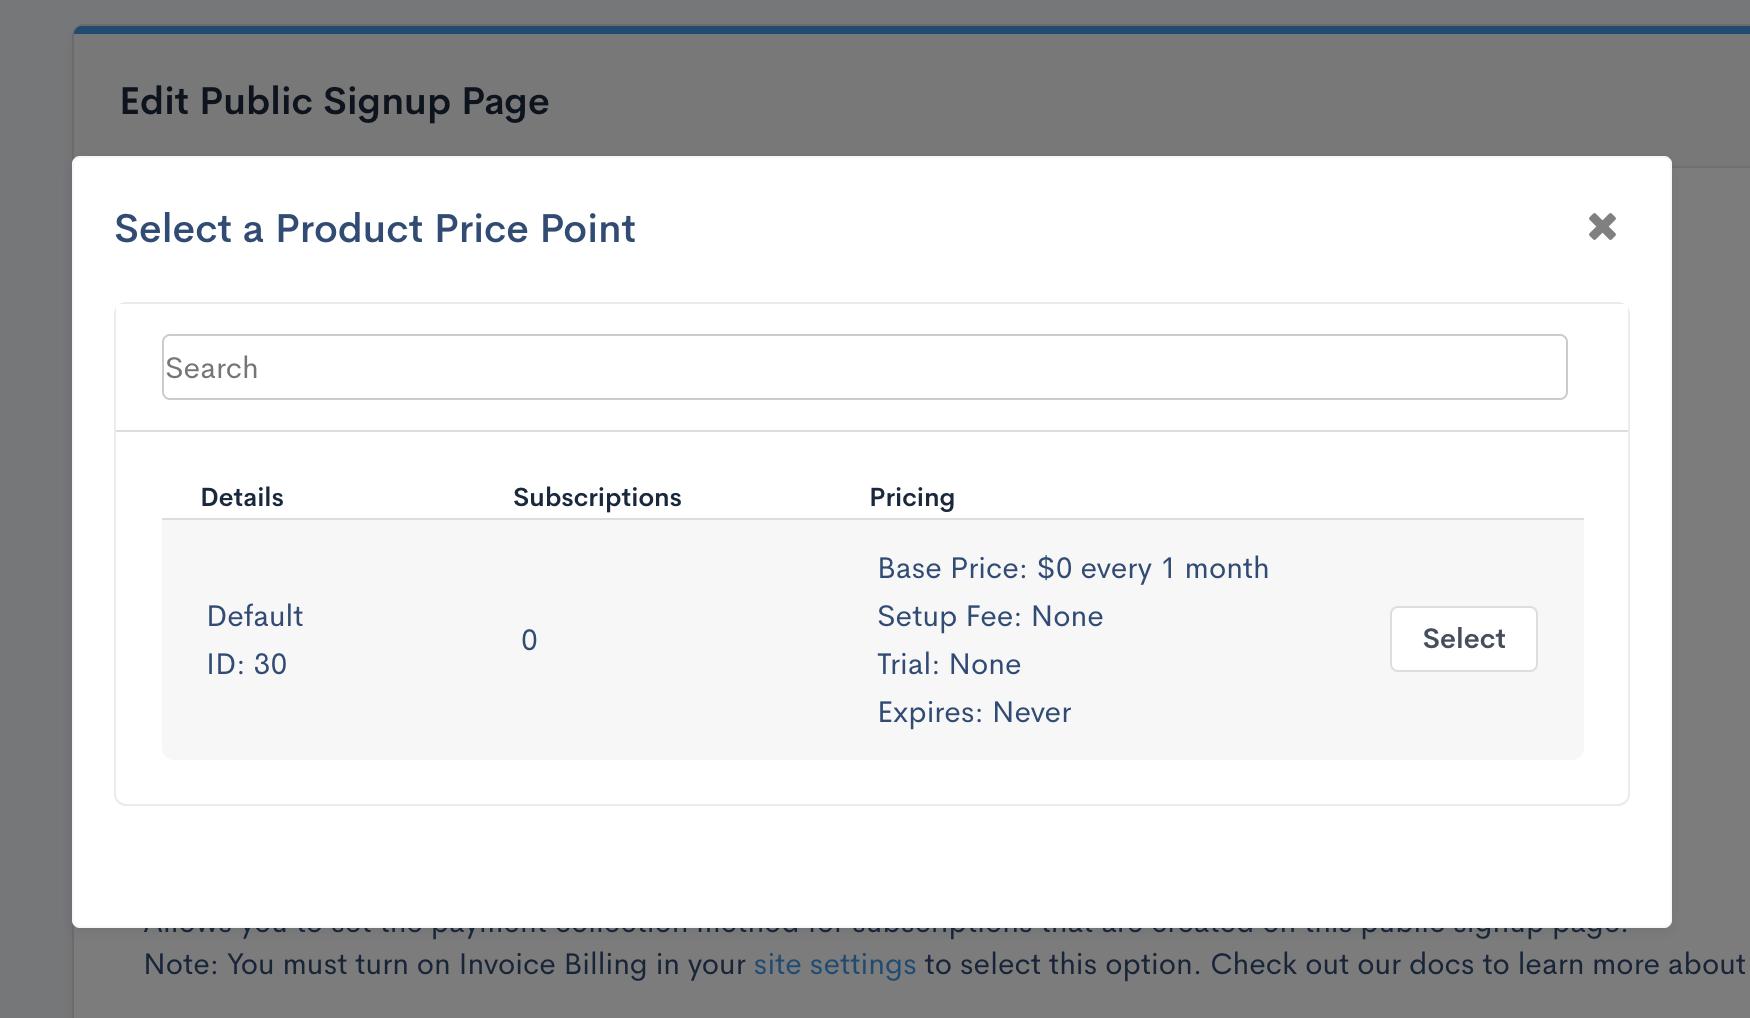
Select a product price point
You may select which price point the Public Signup Page should use. By default, the page uses the product’s current default price point. The selected price point follows the product default if you do not override it.
If you prefer to lock the page to the current default (or a specific price point), select the price point from the dropdown.
Select a currency
If your site supports multiple currencies, you may select a currency for the Public Signup Page. All catalog items assigned to the page must support the selected currency; otherwise, an error will occur when creating or updating the page.
The selected currency is the currency that subscriptions will sign up with. You should define one Public Signup Page per currency that you want to support.
Configure components
Select whether each component (for example, an add-on or module) can be configured by a subscriber via the Public Signup Page. Only components associated with the selected product will appear.
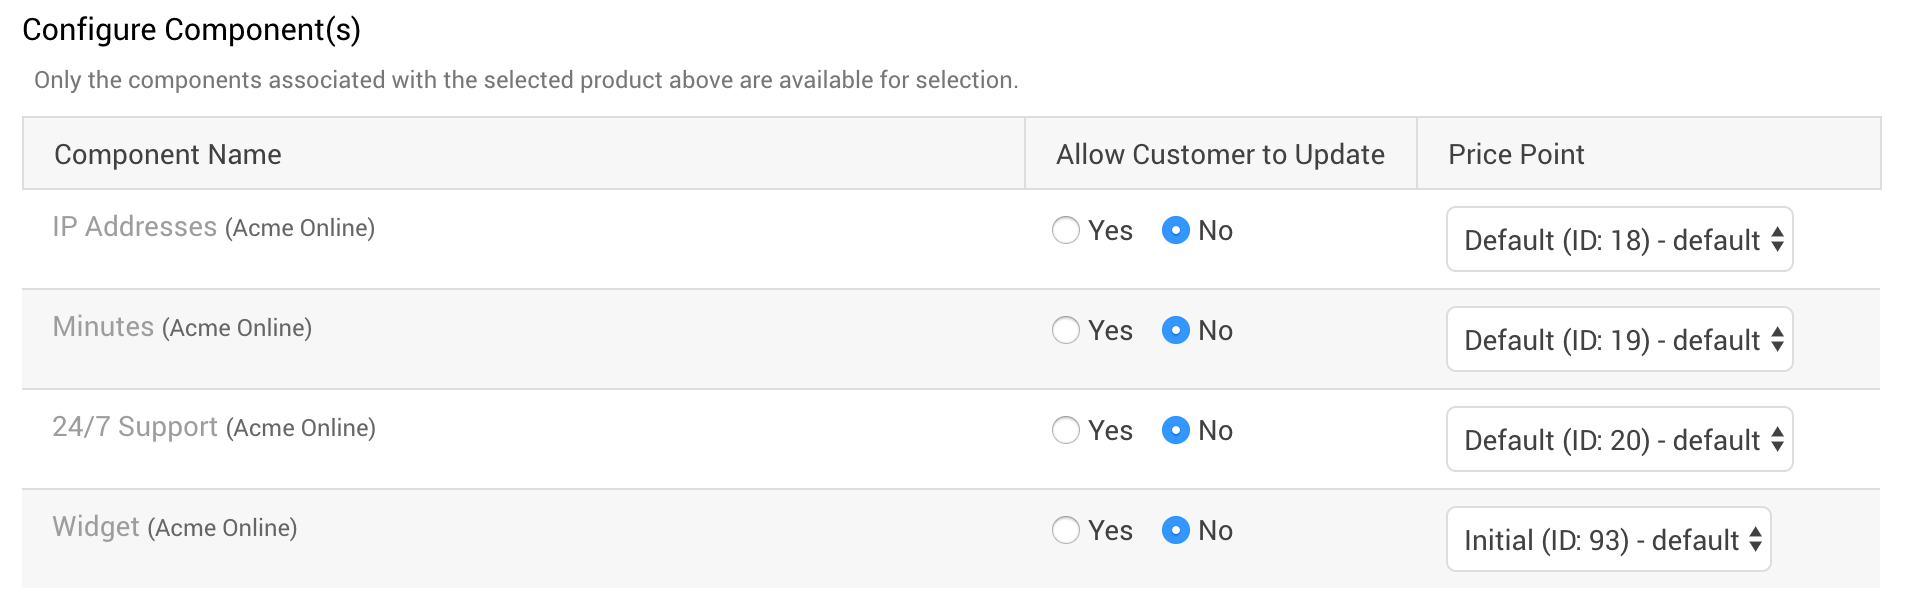
Unless this is enabled, you cannot pre-populate a value for the component via URL or manually define a value with JavaScript. In other words, this setting determines whether the component may be added by either your team or the subscriber on the signup page.
Configure component price points
If the component has more than one price point, you can select the price point to use for this Public Signup Page. The price point selected will be the only one available for purchase on that page.

Target components with CSS
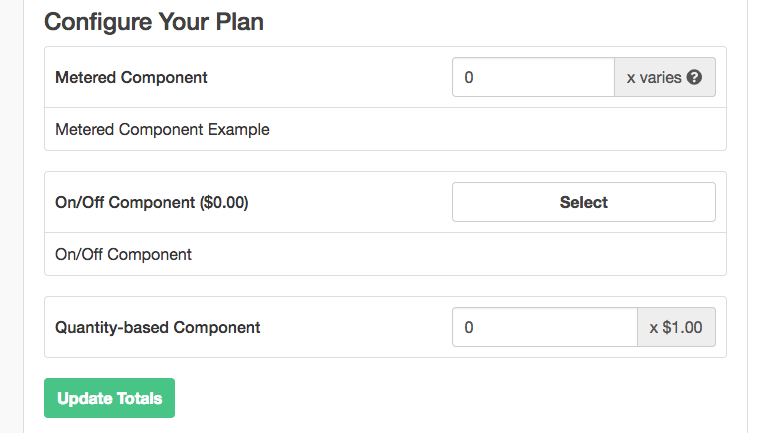
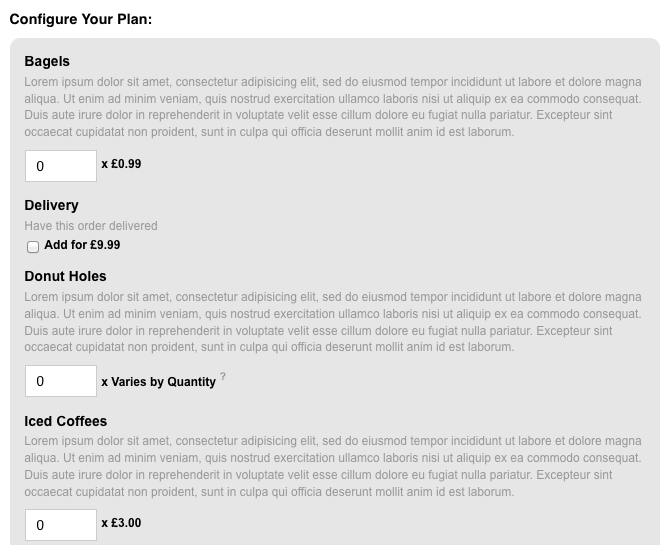
Once a component is enabled for the page (see Configure components above), it appears in the Configure Your Plan section on the signup page inside a div that can be targeted by CSS, depending on your layout version. Components with stairstep pricing schemes are not currently supported on the Public Signup Page.
Modern
Uses the class name form__section--configure-plan. (This name may change in future releases.)
Classic
Uses the class name component_configuration. (This name may change in future releases.)
Layout and custom code
Choose a layout version
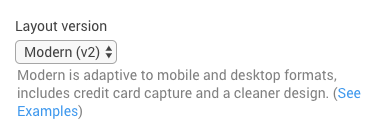
Choose between Classic (v1) and Modern (v2) layout versions. Both layouts support the same features, but the Modern layout is responsive, mobile-friendly, and offers an improved user experience.
WARNING: You can upgrade a page from Classic to Modern, but you cannot downgrade it back to Classic afterward. Once a page is on Modern, the layout version control no longer appears on its edit screen.
Add custom CSS
On the Public Page settings tab you may enter custom CSS and JavaScript for both layout versions. Content entered in the CSS field will be included at the top of the page inside a <style> tag.
We’ve provided guides for applying custom CSS and JavaScript to both Modern (see Customize a Modern Public Signup Page with JavaScript and CSS) and Classic Public Signup Pages (see Customize a Classic Public Signup Page with JavaScript and CSS).
This feature is available only on paid accounts. If you need access during onboarding, contact us.
Add custom JavaScript
Enter custom JavaScript that will be included at the bottom of the page inside a <script> tag.
Important: Only add scripts that you trust and maintain. Custom JavaScript can affect the subscriber experience and should be tested before the Public Signup Page is used in production.
This feature is available only on paid accounts. If you need access during onboarding, see Contacting Support.
Payment and billing
Select a payment collection method
Select how you would like customers to be billed: automatically or by invoice/remittance.
For legacy statement-based users, note that you must enable invoice billing in your site settings before selecting invoice here. Also, if your site is configured for “bill by invoice only” or “automatic only,” you cannot select a different option from this dropdown.

Enable calendar billing
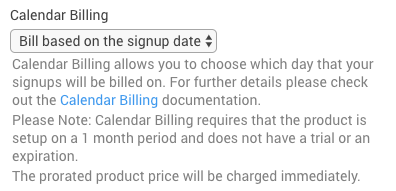
With calendar billing enabled, all subscriptions created through the Public Signup Page will be billed on the day of the month you choose. A prorated charge is calculated at signup according to the remaining days until that date.
If you do not need to lock billing on a specific date, leave the option Bill based on the signup date selected and calendar billing will not apply.
Calendar billing requires that the product is set up on a 1-month period and does not have a trial or an expiration. For more information, see Understand Calendar Billing.
Require payment and address information
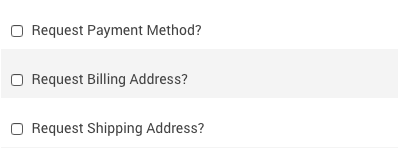
In this section you manage whether a payment method, a billing address, and a shipping address field should be present on the Public Signup Page. These settings may be influenced by the corresponding product settings:
- Require Payment Method
- Require Billing Address
- Require Shipping Address
If you checked any of those options in the product settings, then the corresponding options in the Public Signup Page must be checked:
- Request Payment Method?
- Request Billing Address?
- Request Shipping Address?
On the settings page for a product, a payment method must be added to the Public Signup Page in order to successfully subscribe. You may disable this if you are offering a $0.00 product.
Request a billing address
Enable this setting to require a billing address during signup. Pay special attention to this field if you calculate tax based on Billing Address.
Request a shipping address
Enable this setting to require a shipping address during signup. Similar to billing address, this field is important if you calculate tax based on Shipping Address.
Mark a page as tax exempt
When this flag is true, customers created via this Public Signup Page will be marked as tax-exempt. During subscription billing runs, all taxable items will be ignored.

Security
Enable a security question
Enable Security Question (CAPTCHA) adds an invisible reCAPTCHA v3 check that scores each signup attempt, helping prevent bots from submitting your pages. Customers aren't shown a challenge and aren't asked to solve anything. Maxio recommends enabling this option.
Submissions scoring below your site's minimum score are rejected. That threshold applies to every signup page on the site, and is set with reCAPTCHA Minimum Score in Public Page Default Settings rather than per page. See Configuring Public Page Default Settings.
The setting is available on Public Signup Pages and Offer Signup Pages. Receipt Pages and Self-Service Pages don't use it.
When a submission is rejected, the page tells the Customer that it can't verify they're human and asks them to refresh and try again, or to use a different browser.
For Google's own answers on how reCAPTCHA scoring and verification behave, see the Frequently Asked Questions | reCAPTCHA | Google for Developers.
Legal links
Add a privacy policy URL
Enter the URL to your privacy policy. This link appears in the footer of the Public Signup Page.
Add a terms and conditions URL
If you provide a terms-and-conditions link, the subscriber must agree before subscribing. The link also appears in the footer.
Post-signup behavior
Set a Return URL after successful signup
The Return URL after successful signup is the URL to which the subscriber will be redirected after completing the signup process. The Return parameters specify the data to include in the query string of this URL.
Use this setting to control where subscribers go after a successful signup. For example, you can send subscribers to an onboarding page, product setup flow, confirmation page, or another page where you track post-signup activity.
Specify Return parameters
When creating or editing a Public Signup Page, you may specify Return parameters as part of the redirect URL.
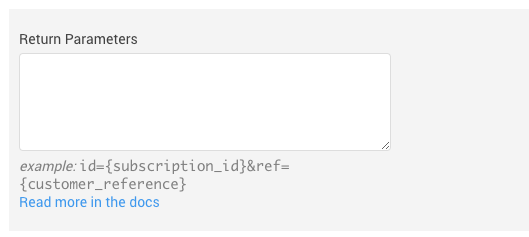
The available parameters are:
subscription_id: The Advanced Billing generated unique identifier for the subscription that was createdcustomer_id: The Advanced Billing generated unique identifier for the customer that was createdcustomer_reference: Your unique reference if one was passed in the pre-populated dataproduct_handle: The product API handleproduct_id: The Advanced Billing generated unique identifier for the productsignup_revenue: The revenue, formatted as a string of dollars and cents (for example, “50.00”) from the subscription signupsignup_payment_id: The ID of the transaction that generated the revenue
Return parameters are specified using curly braces around the parameter name and separated with an ampersand. For example:
http://example.com/callbackWith these Return parameters:
subscription_id={subscription_id}&customer_reference={customer_reference}You would get a redirect URL like:
http://example.com/callback?subscription_id=1&customer_reference=1234Important: Return parameters should not be considered authoritative. Do not grant irrevocable access based solely on these values. They should be considered hints until the user is verified via a secure API lookup.
Signup extras
Display a coupon field
By enabling this option, the Public Signup Page will prompt the subscriber to enter a coupon code. For more information on coupons, see Understand Coupons.
Display a referral field
By enabling this option, the subscriber can enter a referral code provided by another subscriber. The referrals feature must be enabled in your site, and the originating subscription must be in the Active state. Trialing subscriptions do not qualify.
For more information on referrals, see Understand Referrals.
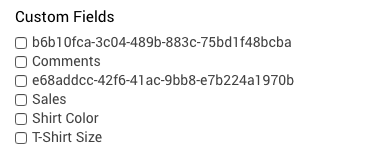
Configure custom fields
Any custom fields you have created may be configured to appear individually on your Public Signup Pages, grouped into Subscription Custom Fields and Customer Custom Fields. To include a custom field, check the corresponding option in the list.
Still need help?
Reach out and our support team will take it from here.