
Bulk Edit, Clone, and Update Item Accounts
Last updated on Sep 19, 2026
Routine actions for managing several Items at once, or for building a new Item from an existing one. Cloning and Edit Accounts require Admin permissions, and the Item list only offers the bulk controls to an Admin.
Bulk edit items
You can edit information about several Items at one time from Admin > Items, using Bulk Edit.
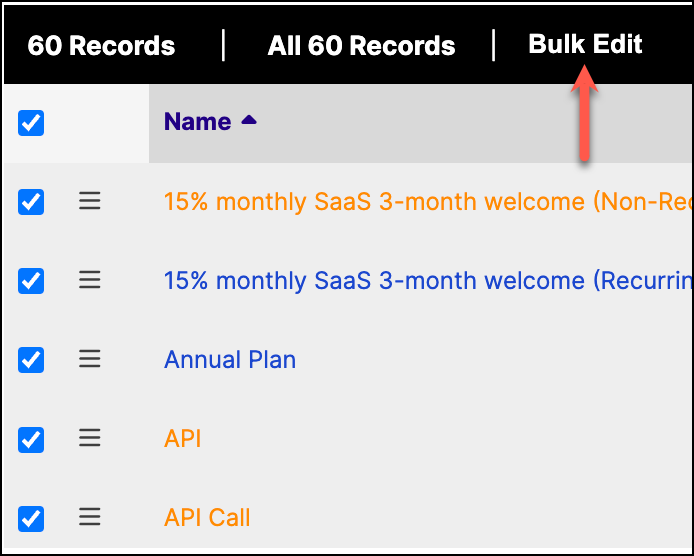
To bulk edit Items
- Select one or more Items for which you want to update one or more properties, using the checkbox in the first column.
- Select the Bulk Edit button.
- Select the checkbox on the left to indicate you wish to update that setting for all the selected Items.
- Select the appropriate value in the drop-down, radio button, or checkbox to the right of the setting.
- Select the Update button.
Bulk Edit runs in the background, so Maxio confirms that the changes are saving and lets you carry on working. Results are available afterwards under Admin > Bulk Update Results. Editing more than 100 Items triggers an automatic account backup first.
How bulk edit behaves
A few fields behave differently under Bulk Edit, or are excluded from it.
- Selecting a mix of Items that need a Maxio Profile and Items that do not removes the Salesforce and AvaTax fields from the bulk form, since those apply only to a uniform selection. The edit still runs on the fields that remain.
- You cannot bulk edit Item names or descriptions, though the Item code can be bulk edited using this function. You must edit Items individually to change those fields.
- Setting Recurrence is what clears the Maxio Profile requirement on the selected Items. Sync Invoices is an ordinary field with no special role here.
- The Bulk Edit function does not support the recast function for Revenues, Invoices, or MRR/ARR generation. To use those, edit an individual Item.
- The Bulk Edit function also does not allow you to update the AvaTax Sales Tax Code for multiple Items at once. You can, however, update multiple Sales Tax Codes at once from within Avalara (Settings > What you sell).
Update items with a CSV file import
For changes at a scale that makes Bulk Edit impractical, import them from a file instead.
To update Items from a CSV file
- Use the Download option on the Item list (Admin > Items) to export your Items.
- Make your edits in a spreadsheet, then save the file as CSV. Leave the Item names untouched, since they are how the importer matches each row to an existing Item.
- Go to Admin > Import, choose Update, and select Items as the object.
- Map your columns to the Item fields and submit the file.
The importer is available when file imports are enabled for your account, and it requires Admin permissions. Choosing Create and/or Update in step 3, which adds new Items as well as changing existing ones, requires a separate setting that Maxio turns on for you.
Clone an item
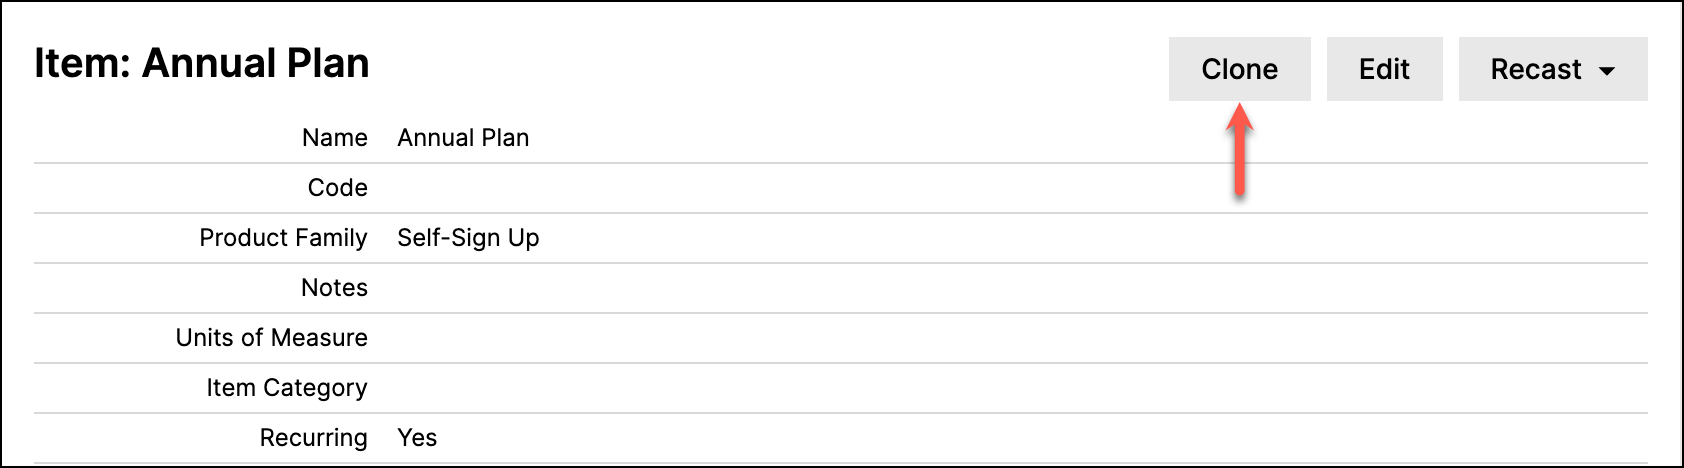
As with editing an Item, there are two ways to clone one: from the Items list view menu icon, or from the Item Detail page Clone action. The second method lets you review the Item configuration before cloning it.
From the Admin > Items list view, click the Item you want to clone. Then, from the Item Detail page, check the configuration. If acceptable, click the Clone action.
Edit accounts
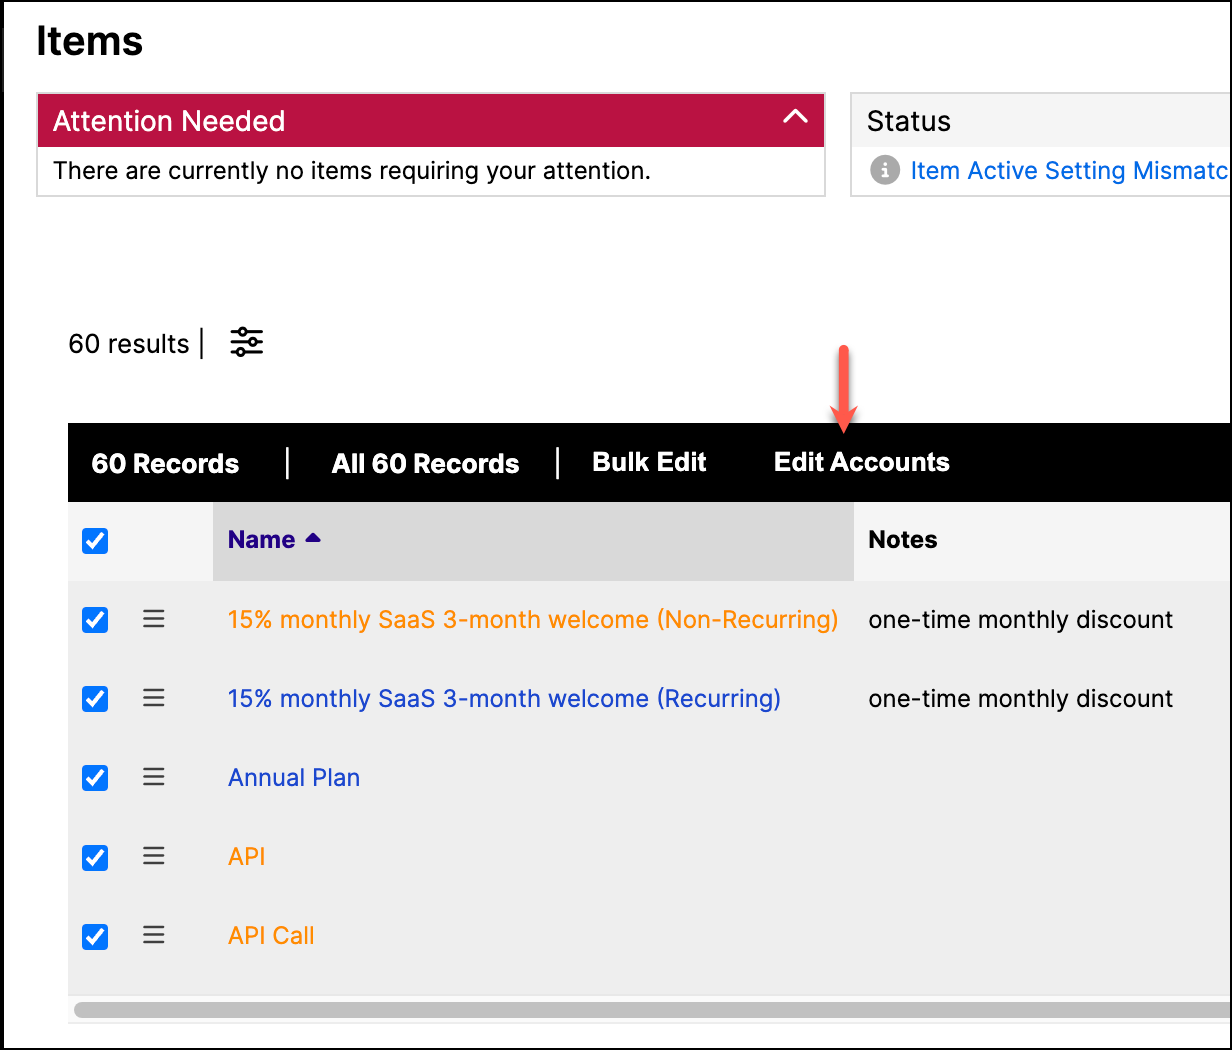
Available from the Item List view after selecting one or more Items, this function lets you edit Accounts for several Items at one time.
Related information
For what an Item is and where Items are created, see the Understand Items help article.
To reset an Item's MRR and ARR, see the Recast Item MRR/ARR help article.
To delete the financial records that use an Item, see the Clear Item Data help article.
For a description of every Item field, see the Review Item Fields help article.
Still need help?
Reach out and our support team will take it from here.